Digital printer bidirectional alignment addresses the relationship between marks printed during opposite carriage directions. Doubled edges or direction-dependent offsets can suggest an alignment issue, but missing nozzles, unstable media and carriage faults can produce similar-looking defects. Calibration should follow a controlled comparison, not replace basic diagnosis.
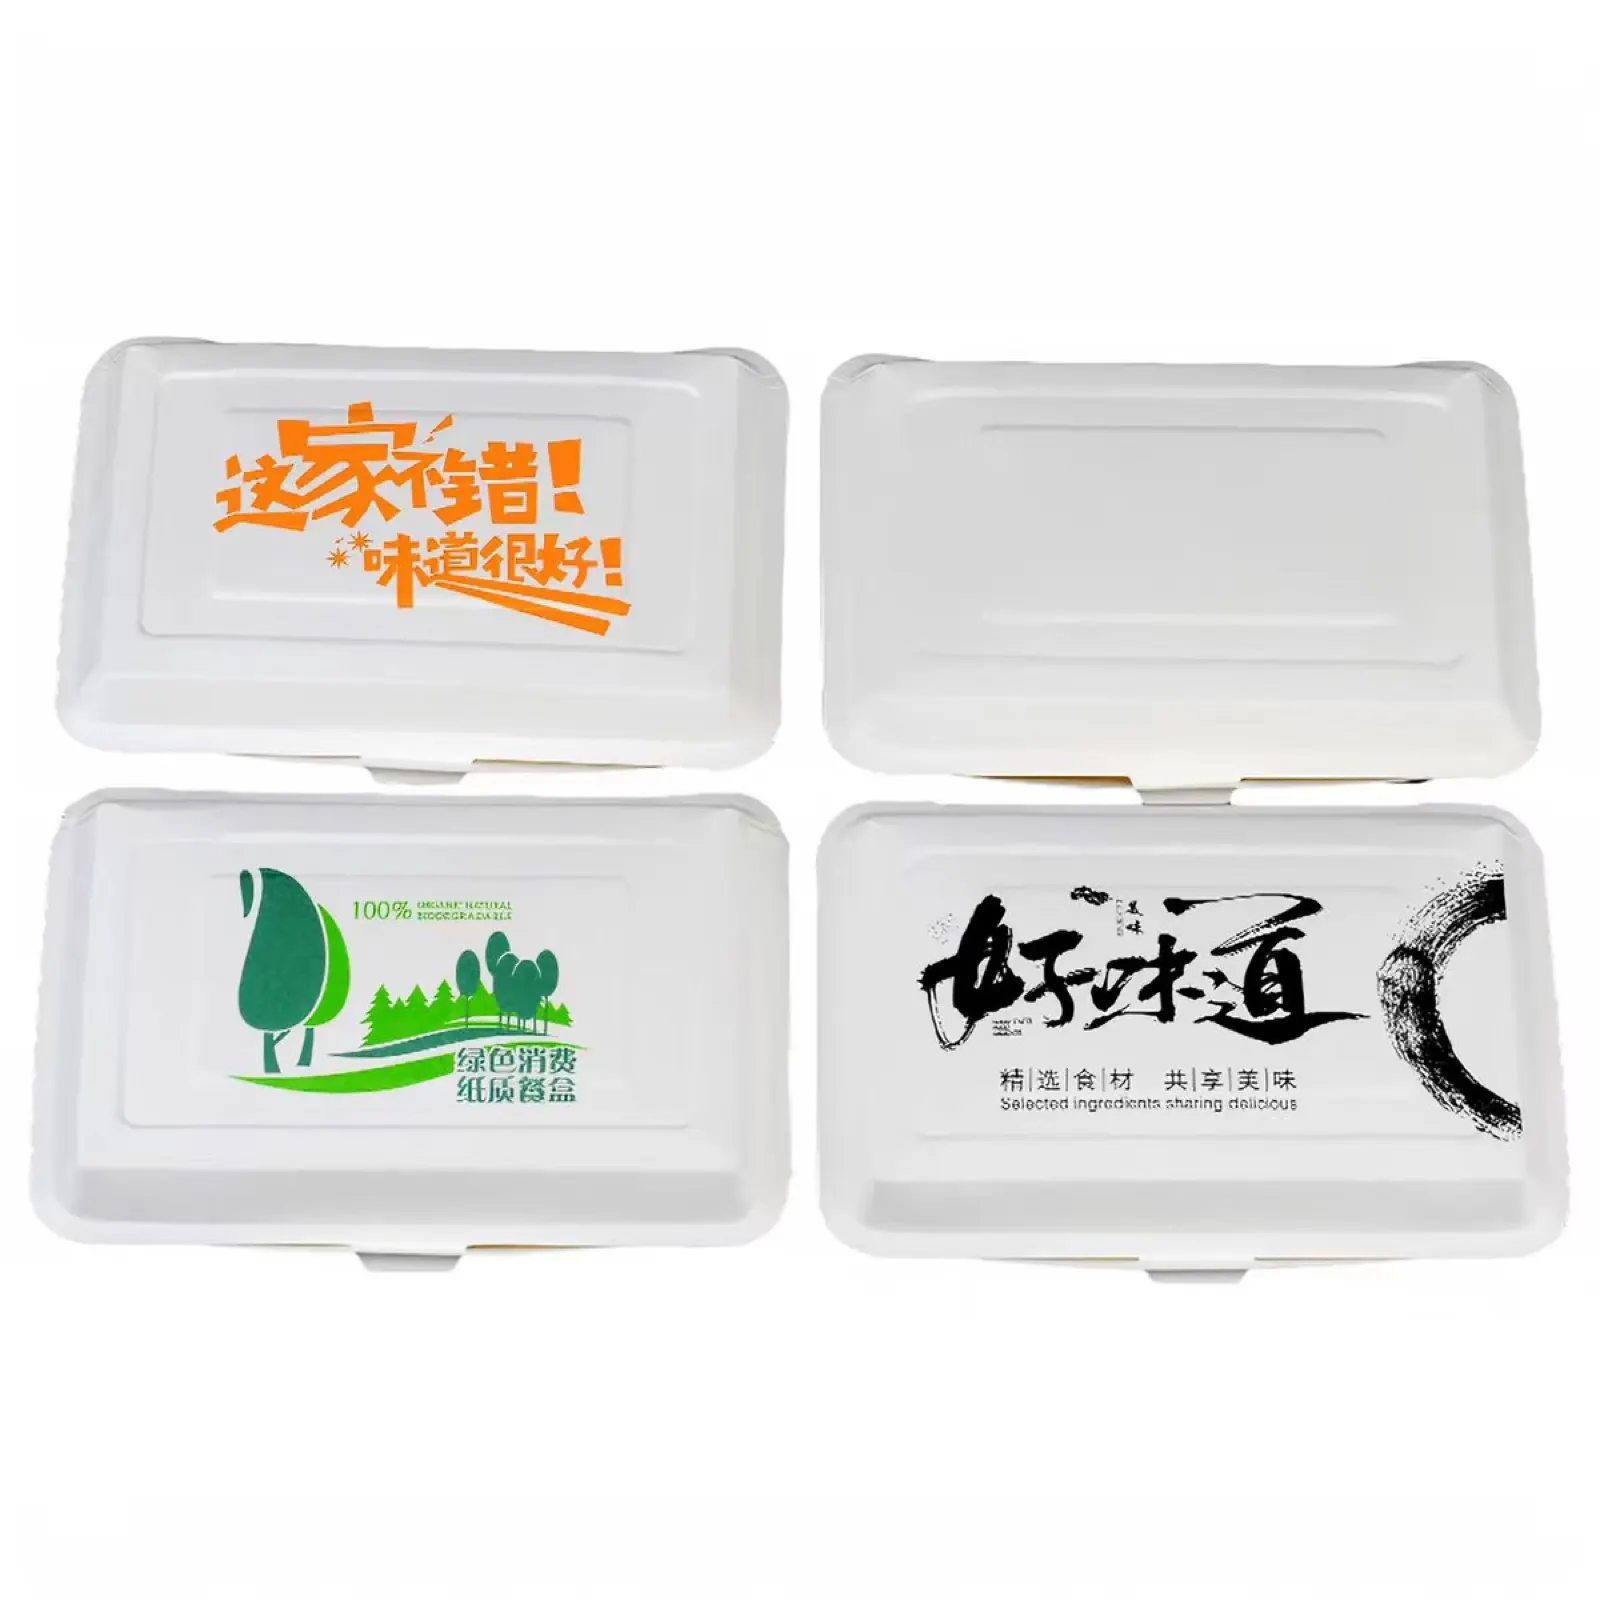
Use this guide only for a printer that supports bidirectional carriage printing. Single-pass architectures require different registration procedures. The image shows printed packaging applications, not a calibration target or a photograph of a specific printer head.
Diagnostic decision table
| Test result | Investigation | Keep constant |
|---|---|---|
| Unidirectional clean, bidirectional doubled | Direction-related alignment path | Media and print mode |
| Both directions show missing lines | Nozzle or ink-delivery condition | Nozzle-check procedure |
| Offset changes across the sheet | Media geometry or motion | Loading and support |
| Defect follows feed distance | Media-feed calibration branch | Directional setting |
Separate direction error from other print defects
Use the printer-approved diagnostic pattern and identify which lines or blocks correspond to opposite carriage directions. Keep original samples with print mode, resolution and media setting. A phone photograph of a logo rarely contains enough information to distinguish pass alignment from nozzle loss.
If the printer supports the comparison, print equivalent approved tests in unidirectional and bidirectional modes. Change only that variable. A better unidirectional result supports further directional investigation but is not proof that a calibration number alone will fix the problem. Mechanical motion, head-to-media geometry and the selected mode remain relevant.
Establish a stable nozzle and media baseline
Complete the model-specific nozzle check before alignment. Resolve missing or deflected nozzles through the approved maintenance procedure rather than choosing calibration values around a damaged pattern. Repeated cleaning without improvement should trigger service review, not progressively larger registration corrections.
Load suitable media using the prescribed orientation, support and hold-down arrangement. Check flatness and contamination. Epson alignment instructions illustrate why an acceptable nozzle pattern and appropriate paper are prerequisites. Use the installed printer instructions for the actual media and ink system; a procedure for a different Epson model does not establish compatibility with packaging stock.
Use the correct alignment mode and target
Identify whether the machine offers automatic sensing, manual pattern selection or a service-only calibration. Confirm which print modes the adjustment affects. Some settings are tied to a media preset or quality mode, so record the destination of the saved correction before changing it.
Print and interpret the specified target under suitable lighting. For a manual target, select the pattern according to the manufacturer criterion rather than the darkest or most attractive block. If no candidate is clearly acceptable, check the baseline and supported adjustment range. Do not keep selecting extreme values to hide a mechanical offset.
Avoid overlapping feed and carriage adjustments
Keep media-feed calibration, head alignment and mechanical carriage adjustment as separate operations. Record the original values so a controlled rollback is possible. Changing feed advance and bidirectional alignment together removes the evidence needed to identify which change improved the image.
If the directional error varies by position or returns immediately, inspect the relevant motion system through the approved service procedure. Do not touch an encoder strip with an unapproved solvent or alter belt tension as part of routine pattern selection. Physical head-height or carriage adjustments may require trained service personnel and a separate commissioning check.
Validate the production artwork and retained preset
After calibration, repeat the diagnostic target and then a representative packaging job containing fine text, edges and registration features. Compare samples across the usable print area. Retain the same ink, media, resolution and direction settings so the improvement can be attributed to the documented correction.
Confirm that the intended media preset retains the approved adjustment after the normal restart process. Review downstream cutting or forming alignment separately: clean bidirectional printing does not prove correct die-cut registration. Send HANNAI the before-and-after targets and printer configuration if the error persists; include whether unidirectional printing changed the symptom.
Related equipment and next checks
Review the digital packaging printing equipment and the related guide to carriage motion and encoder-strip inspection. The Engineering Notes archive connects these checks with wider machine planning.
Technical reference
- Epson automatic printhead alignment prerequisites and procedure — general reference; confirm applicability to the installed equipment.
Frequently asked questions
Does this apply to every digital printer?
No. Confirm a bidirectional carriage architecture.
Should alignment precede the nozzle check?
No. Establish a usable nozzle pattern first.
Is feed calibration the same adjustment?
No. Keep feed distance and opposite-direction alignment separate.
Can unidirectional output help diagnosis?
Yes, when the printer supports a comparable controlled test.
Review the evidence with HANNAI
Send your machine model, component identification and the observations described in this guide. Include the drawing or material reference and any before-and-after measurements so the required next check can be identified.