A double-wall sleeve must be located and held on the inner cup without uncontrolled adhesive squeeze-out, lifting or visible contamination. The nozzle pattern is only one part of that result; adhesive grade, application temperature, pressure, timing, sleeve geometry and compression all contribute.
Hot-melt equipment can cause severe burns and may retain pressure after power is removed. Follow the adhesive-system manufacturer’s depressurization, protective equipment and cleaning procedure. Do not use flames, drills or improvised metal tools in a nozzle.
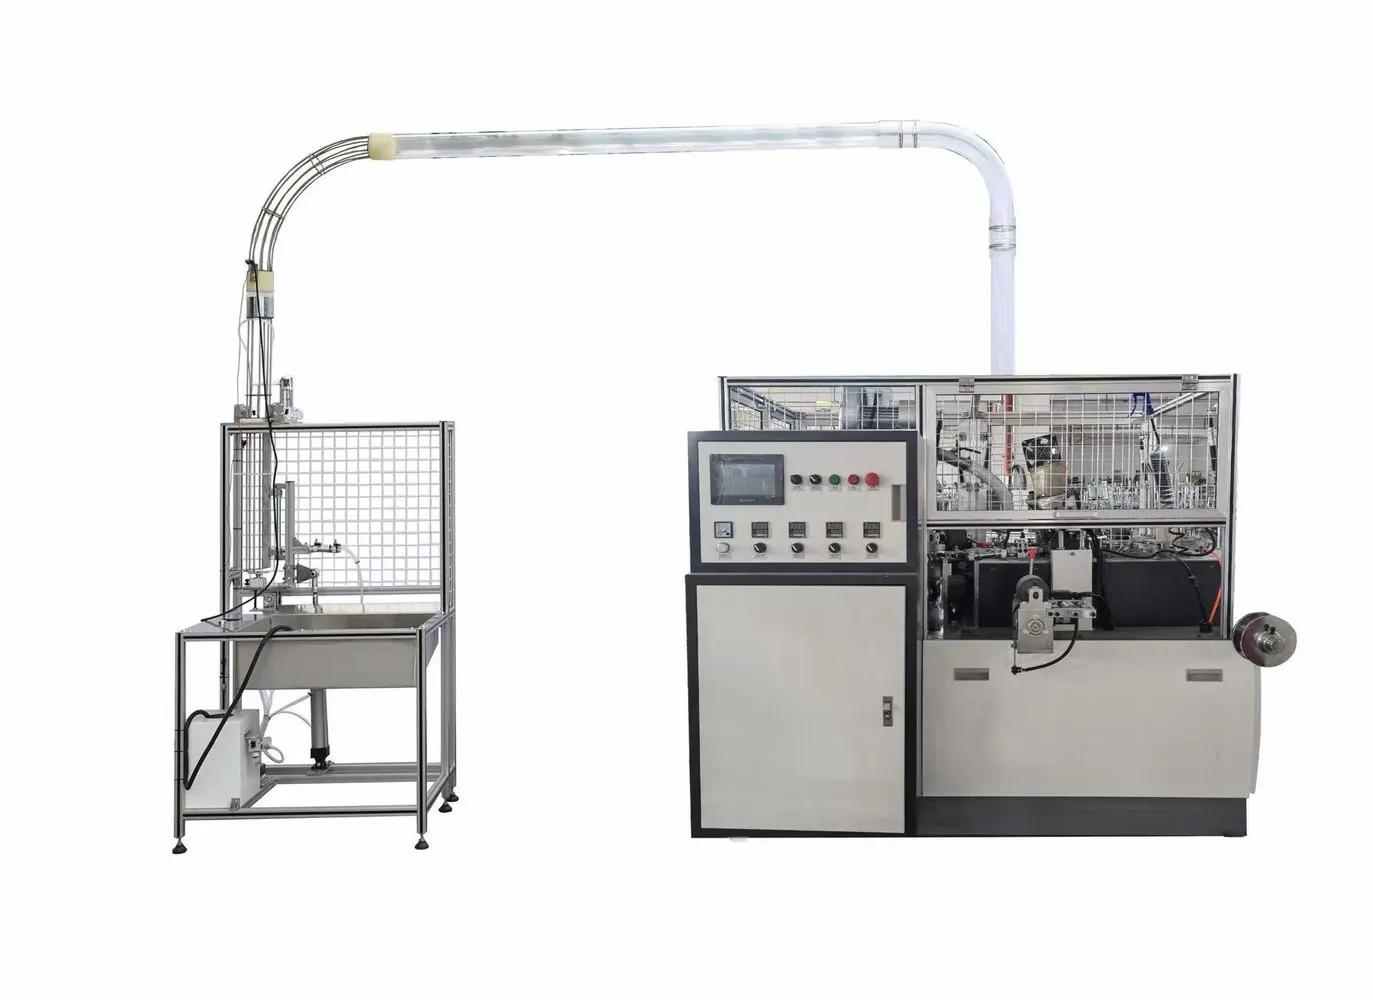
Decision matrix
| Control factor | Evidence | Process question |
|---|---|---|
| Adhesive | Manufacturer, grade, lot and approved application range | Is it approved for the sleeve material and end use? |
| Delivery condition | Tank, hose and applicator settings with actual stability | Does adhesive reach the nozzle consistently? |
| Pattern geometry | Bead/dot positions, start-stop points and amount proxy | Is coverage repeatable without squeeze-out? |
| Sleeve relationship | Overlap, print orientation, inner-cup fit and compression | Does the bond form at the intended surfaces? |
| Release test | Visual result, peel mode and aged sample condition | Does the approved sample remain stable after handling? |
Define the approved bond pattern
Use a controlled drawing or approved sample to define where adhesive should and should not appear. Mark nozzle positions relative to sleeve edges, overlap and print features. Do not describe an arbitrary number of dots or bead width as universal for all cup designs.
Record sleeve paper, coating, print, grain direction, inner-cup dimensions and environmental conditioning. A geometry change can alter contact pressure and apparent bond strength even when the applicator settings are unchanged.
Stabilize the adhesive delivery system
Confirm the exact adhesive and its supplier application guidance. Record tank, hose and applicator conditions only as machine-specific setpoints. Inspect filters, hoses, fittings and pressure control for restrictions or leaks. Never increase temperature beyond approved limits to compensate for a blocked nozzle.
Wait for the system to reach stable operating condition under the documented procedure. Compare temperature display with available diagnostics and observe whether delivery changes during production demand. Use protective equipment and maintain ventilation and housekeeping required by the adhesive safety data.
Inspect the nozzle and triggering function
After safe shutdown and depressurization, inspect nozzle identity, orientation, mounting and approved cleaning condition. Nordson guidance warns against open flames and damaging tools such as drills or broaches for nozzle cleaning. Follow the exact applicator manual and approved cleaning materials.
Check trigger signal, solenoid or module response and the relationship between product detection and application. A delayed or unstable signal can shift a clean bead. Verify that cable, air and adhesive lines are supported and do not move the nozzle during the cycle.
Run a visible pattern and bond trial
Use a controlled low-speed trial and capture sleeves before closing where the procedure allows. Mark machine direction and compare start, stop, placement and continuity across repeated pieces. Weighing a defined sample set may provide an application-amount proxy if the site has a validated method.
Form complete cups and inspect squeeze-out, sleeve lift, alignment, overlap and visible marks. Evaluate bond behavior after the defined cooling or conditioning time; a hot sample and a conditioned sample can behave differently. Record failure mode rather than only pass or fail.
Link nozzle results to final-cup quality
Confirm that the adhesive pattern does not obstruct denesting, create odor or contamination concerns, or conflict with product compliance requirements. Obtain documentation for the exact adhesive and intended packaging use from the responsible supplier; do not infer compliance from color or generic grade names.
Send HANNAI the machine, applicator and nozzle labels, adhesive data, sleeve drawing, pattern photos and failed samples. Use the linked sleeve-fit guide to separate adhesive delivery from dimensional fit and compression.
Technical references
- Nordson liquid application equipment maintenance manual — general component guidance; the installed machine documentation remains controlling.
Related machine and guide
Review the double-wall paper cup machine for machine context, then use the double-wall sleeve fit trial guide for the adjacent check. Browse all Buyer Guides when building a wider project checklist.
Frequently asked questions
Is more adhesive always a stronger bond?
No. Excess can squeeze out, contaminate surfaces and hide a fit or compression problem.
Can nozzle blockage be cleared with a drill?
Do not use damaging tools unless the exact manufacturer procedure explicitly permits them; follow the applicator manual.
Why inspect after conditioning?
Adhesive and paper behavior can change after cooling and moisture or temperature equilibration.
What information supports a nozzle review?
Provide adhesive grade, applicator/nozzle codes, settings, sleeve and cup data, pattern photos and failure mode.
Review your machine configuration with HANNAI
Send the machine model, project reference, component labels, drawings, photos and a description of the required result. We will clarify which details must be confirmed before a quotation or technical recommendation.