Sleeve seam pressing must hold the overlap in the intended geometry while the adhesive develops enough handling strength for transfer and collection. Too little or uneven contact can leave lifting; excessive pressure can emboss, flatten or shift the sleeve.
The correct hold and cooling behavior depends on adhesive, paper, coating, sleeve design and machine configuration. This guide establishes a trial method without inventing universal pressure, time or temperature settings.
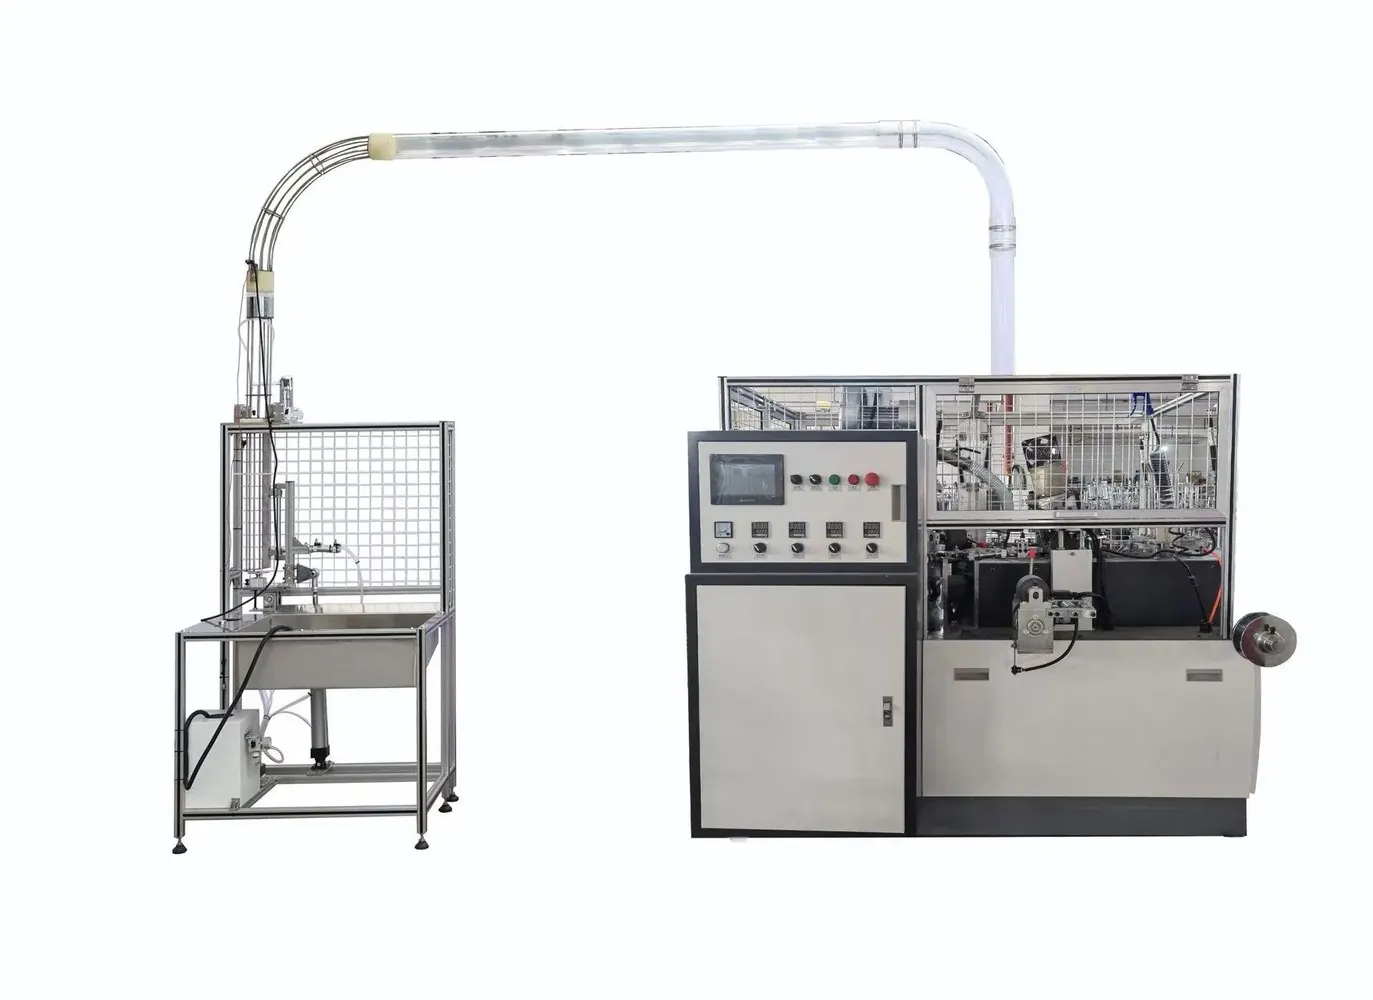
Decision matrix
| Process factor | Evidence | Release question |
|---|---|---|
| Sleeve geometry | Blank drawing, overlap, grain, print and formed diameter | Does the sleeve close without forced distortion? |
| Adhesive state | Grade, application pattern and condition at pressing | Is bond formation repeatable? |
| Press tooling | Profile, parallel contact, cleanliness and release | Does pressure reach the intended seam area? |
| Timing/cooling | Trigger, dwell, transfer time and sample condition | Is handling strength adequate before ejection? |
| Finished result | Lift, shift, squeeze-out, marks and denesting | Does the cup remain functional and presentable? |
Define the seam and acceptance sample
Use the controlled sleeve drawing and approved finished sample. Mark overlap width, seam position, print orientation and areas where adhesive or pressure must not appear. Record inner-cup and sleeve material lots.
A sleeve can open because geometry is wrong even when adhesive is sound. Verify formed diameter and overlap before increasing pressure or dwell. Use the linked fit guide to separate dimensional fit from pressing behavior.
Stabilize the upstream adhesive condition
Confirm adhesive identity, application pattern and system stability. Inspect whether the seam reaches pressing with consistent bead/dot placement and suitable process condition. Do not raise adhesive temperature or amount simply to make an unstable seam hold.
Record time from application to pressing and from pressing to ejection using the machine sequence. Variation can come from sensor timing, intermittent feed or stops. Segregate samples made during abnormal pauses.
Inspect tooling contact and alignment
With energy isolated and hot parts controlled, inspect press faces, profiles, mounting datums and contamination. Use approved transfer media or contact evidence where appropriate to see whether force covers the intended seam uniformly.
Do not shim one side informally or grind a tool at the machine. Confirm actuator guidance, parallelism and mechanical stops. Uneven wear or looseness can create one-sided lift while the displayed pressure remains unchanged.
Run hold and cooling trials
Change only one controlled factor at a time: tool position, approved pressure setting, dwell or cooling/transfer timing. Label samples and evaluate immediately and after the defined conditioning period. Record peel/failure mode rather than only a subjective strong/weak result.
Inspect sleeve shift, squeeze-out, gloss/emboss marks, rim and bottom interference and inner-cup deformation. Confirm the cup transfers, stacks and denests without the seam catching neighboring cups.
Approve a production window
Use repeated samples across startup and steady production to define the approved machine recipe for the specific sleeve, inner cup and adhesive. Monitor process evidence rather than promising a fixed bond strength or universal dwell.
Send HANNAI sleeve and cup drawings, material/adhesive data, tooling photos, timing sequence and labeled failures for review. Retain an approved sample and update change-control records when any input changes.
Related machine and guide
Review the double-wall paper cup machine for machine context, then use the double-wall sleeve fit trial guide for the adjacent check. Browse all Buyer Guides when building a wider project checklist.
Frequently asked questions
Can higher pressing pressure always stop seam lift?
No. Check sleeve geometry, adhesive pattern/condition, alignment and timing before increasing pressure.
Why evaluate samples after conditioning?
Bond behavior and paper shape can change after cooling and environmental equilibration.
What defects can excessive pressing create?
It can mark, flatten, shift or deform the sleeve and inner cup.
What defines an approved setup?
A specific material and adhesive combination with controlled tooling, timing and repeated finished-cup evidence.
Review your machine configuration with HANNAI
Send the machine model, project reference, component labels, drawings, photos and a description of the required result. We will clarify which details must be confirmed before a quotation or technical recommendation.