Double wall paper cup machine sleeve wrapping and bonding troubleshooting must treat the inner cup, outer sleeve blank and machine setup as one matched product. A loose sleeve, open seam, wrinkle, rotation error or uneven gap can originate before the double-wall station. Diagnosis should establish the approved cup and sleeve geometry and adhesive or bonding method for the delivered configuration before any timing or tooling change.
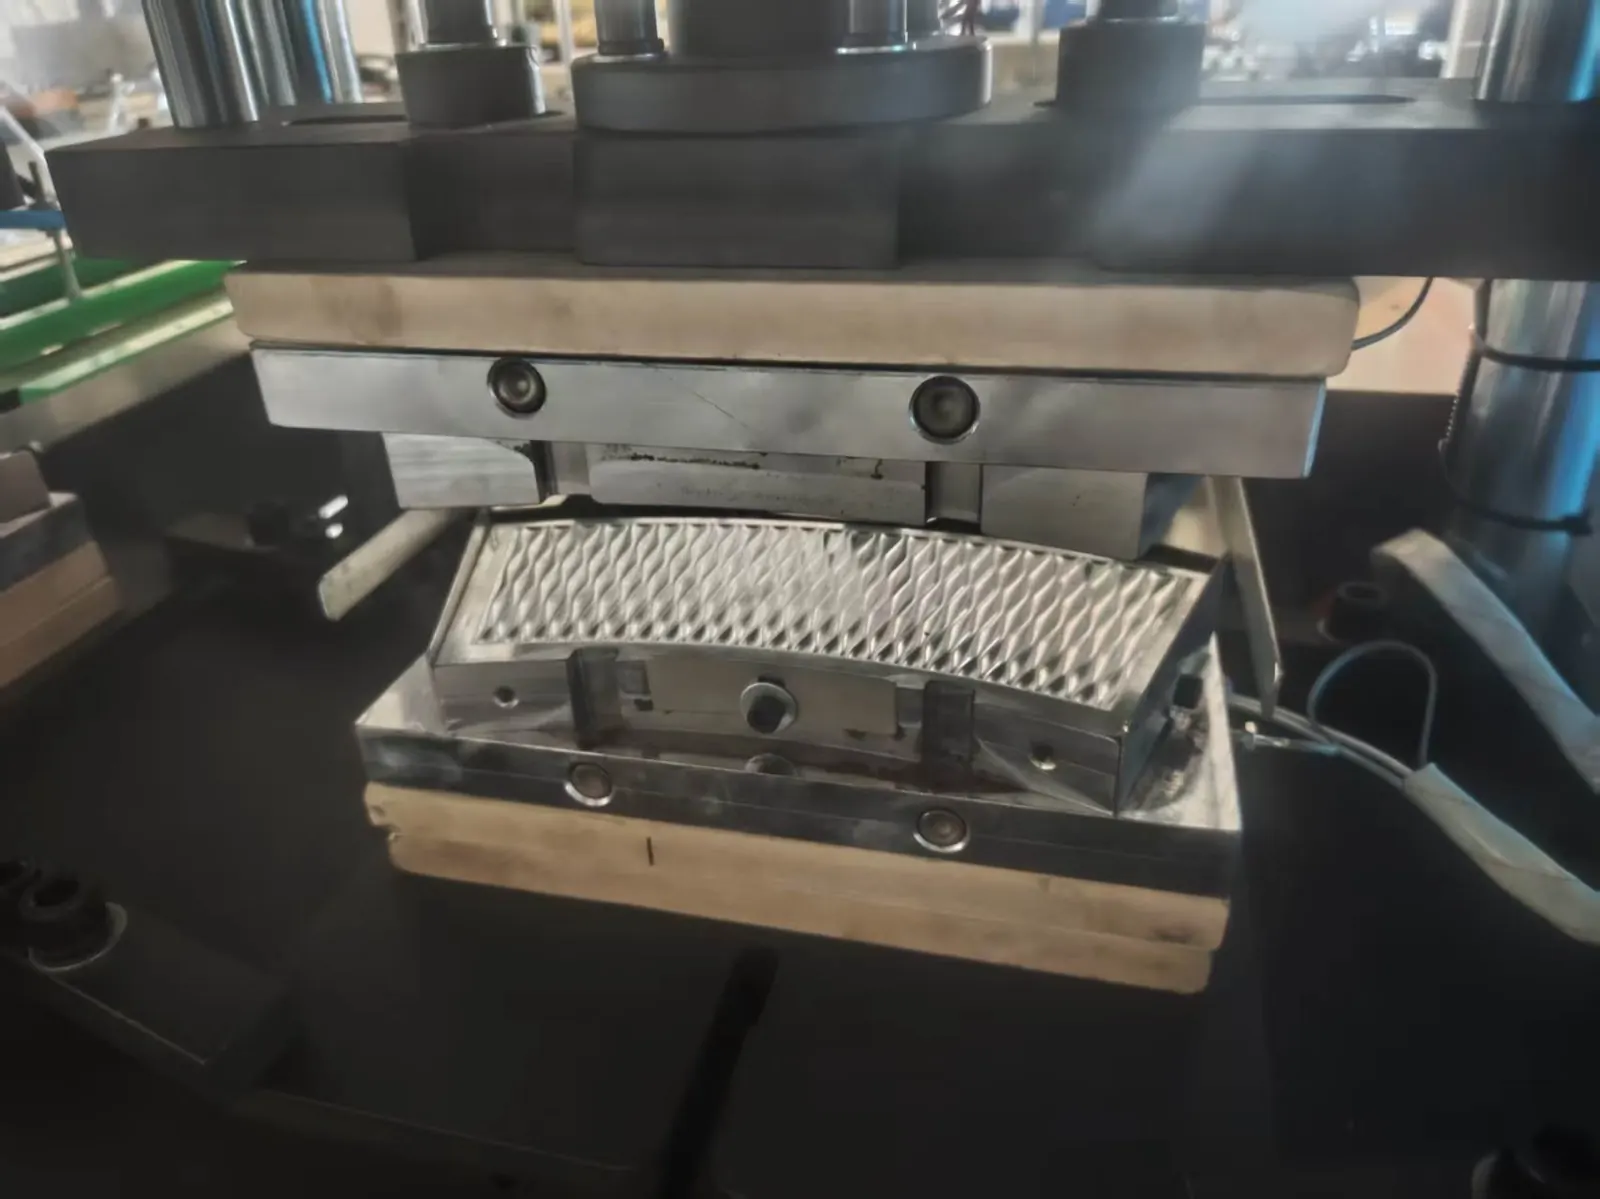
Define the double-wall product construction
Record the inner cup dimensions, rim and base geometry, outer sleeve drawing, material, printing or embossing, overlap, orientation and the approved bonding pattern. Confirm whether the outer layer is a full wrap, formed sleeve or another delivered structure. Do not assume that two cups with the same ounce label use interchangeable sleeve blanks.
HANNAI’s double wall paper cup machine is discussed by cup size, sleeve structure, material and output target. Many projects require a formed inner cup before the outer layer is processed. Troubleshooting therefore begins with approved samples from both stages.
Map each defect to useful evidence
| Defect | Evidence to compare | Diagnostic branch |
|---|---|---|
| Open or weak sleeve seam | Overlap width, surface, adhesive or bonding pattern, pressure and cure or setting condition | Blank geometry, application, contamination or process window |
| Sleeve rotates on the cup | Inner cup taper, sleeve fit, bonding location and final set | Geometry mismatch or an incorrectly placed bond |
| Wrinkle or trapped fold | Blank flatness, feed skew, wrap path, cup centering and guide condition | Presentation or forming alignment |
| Uneven top or bottom gap | Inner cup height, sleeve blank dimensions, reference edge and seating depth | Incoming dimensional variation or axial position |
| Print or embossing out of position | Artwork datum, blank orientation, feed register and seam position | Prepress or cutting reference, or machine orientation |
| Good cold, poor after sustained run | Material temperature, adhesive delivery, contamination and component drift | Process stability rather than initial setup alone |
Verify inner cups before loading the sleeve machine
Measure and visually compare the inner cup using the approved sampling method. Check height, taper, roundness, rim, base, side seam and stacking and denesting behavior. An oval cup or changing taper can shift sleeve overlap and axial gap even when the sleeve machine has not moved.
Keep inner cups by forming machine, tooling, material lot and production time. If the sleeve defect follows one group, inspect the upstream forming record. Do not adjust the double-wall station to compensate for uncontrolled inner-cup variation; the next accepted lot may then become defective.
Inspect sleeve blanks and feeding
Confirm the blank drawing, cutting orientation, edge condition, print or embossing reference and material lot. Stack blanks consistently and check for curl, sticking, dust or damage. Mark a small controlled sample so feed direction, leading edge and seam relationship can be traced through wrapping.
Under safe isolation, inspect magazine guides, separators, suction devices, forming guides and holders. A skewed blank can wrap with a correct overlap at one edge and an open seam at the other. Clean surfaces by the approved method and do not use improvised sprays or abrasive work near food-packaging material.
Review bonding as a complete delivered process
Identify the actual bonding technology, approved adhesive or activation method, application location and supplier instructions. Record material batch, preparation, open time or other applicable handling data without inventing a universal value. Inspect delivery components only after energy isolation and according to chemical and thermal safety requirements.
More adhesive is not automatically stronger. Excess can squeeze out, contaminate tools, mark the cup, lengthen setting or interfere with stacking. Too little, a blocked application path, incorrect placement, contaminated surfaces or insufficient controlled contact can all weaken the bond. Change one verified factor at a time and retain samples.
Check wrapping alignment, support and release
Observe the sequence from outside guards. Confirm the inner cup is centered and seated, the sleeve blank arrives square, wrapping completes without a trapped edge, the seam receives uniform controlled contact and the cup is released only after the process permits it. Record whether the first defect follows a stop, speed change, refill, material splice or format change.
Under lockout, check tool and holder identity, guide condition, fasteners and retained reference marks. Do not move guides by eye or increase forming load to force an incorrect blank around the cup. Use the approved changeover and tool references for the delivered machine.
Validate appearance, bond and downstream handling
Run an identified trial through authorized speed stages. Inspect seam overlap, top and bottom gap, print or embossing orientation, wrinkles, surface marking and cup roundness. Use the approved bond test after the required process condition; do not judge only by pulling a fresh hot or wet seam at random.
Then verify stacking, denesting and packing. A sleeve that looks acceptable individually may catch adjacent cups, rotate in the stack or change pack dimensions. Retain samples and link them to inner cup lot, sleeve lot, machine setup and bonding input.
Frequently asked questions
Does a loose sleeve always mean more adhesive is required?
No. Fit, taper, overlap, surface condition, adhesive placement, application stability and controlled contact all matter. Determine whether the sleeve geometry matches the inner cup first.
Why can the sleeve gap vary even when one blank lot is used?
Inner cup height, taper, seating, feed skew, guide position and cup orientation can vary. Map the defect to both inner-cup and sleeve evidence.
Can a single-wall cup be used as an inner cup without testing?
It must match the approved double-wall product construction. Confirm dimensions, taper, surface, rim and base geometry and the delivered sleeve process with samples before production release.
What should be sent for supplier troubleshooting?
Send inner cup and sleeve drawings, material data, marked good and bad samples, seam and gap measurements, bonding input, machine settings by reference, safe cycle video and recent change history.
Send the inner cup and sleeve dimensions, materials, printed or embossed blank photos, bonding method, marked defect samples and a safe machine video through our inquiry page. HANNAI can review the product-machine match and next controlled check.