Paper cup machine fastener looseness is not solved by tightening every visible bolt as hard as possible. A repeated loose joint can indicate vibration, damaged threads, poor seating, incorrect hardware, thermal cycling, frame movement or a component that was assembled outside its approved condition. A controlled inspection maps each joint, preserves evidence and applies only the specified fastener method.
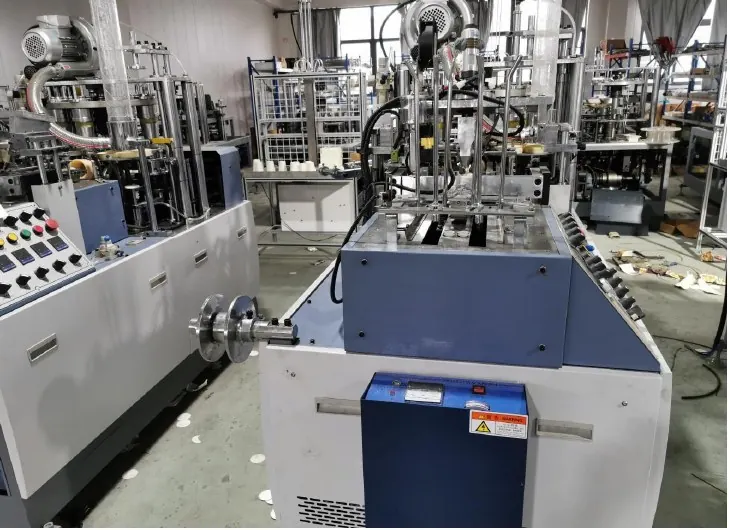
Map the symptom before using a wrench
Record the exact machine location, fastener function, observed movement and operating condition. Look for shifted witness marks, fretting dust, bright contact areas, cracked paint, elongated holes, washer movement, repeated product-position drift or noise that follows one mechanism. Photograph the joint before cleaning or tightening.
A loose guard panel is different from a moving die support, drive hub or structural connection. Classify the risk and stop the machine if the joint affects guarding, rotating parts, tooling position, electrical bonding or product control. Use the daily maintenance checklist to connect the finding with the existing inspection routine.
Confirm the approved fastener specification
Identify the bolt or screw size, grade or material, nut and washer arrangement, joint material, thread condition and whether the supplier specifies dry threads, lubricant, locking compound, locking hardware or another retention method. These details change the relationship between applied torque and joint preload.
Do not invent a torque value from diameter alone. Use the machine drawing, tooling record, component manual or a value confirmed by the supplier. Reusing damaged self-locking hardware, mixing grades or lubricating a joint designed to be dry can make an apparently careful repair unreliable.
Use a joint-by-joint inspection table
| Finding | Evidence to inspect | Required decision |
|---|---|---|
| Witness mark shifted | Joint movement, paint break, adjacent rub marks and product effect | Determine whether preload was lost or the component moved |
| Fastener repeatedly loosens | Threads, hole fit, seating surfaces, vibration source and hardware identity | Correct the joint cause before another tightening cycle |
| Washer or surface is deformed | Material indentation, burrs, wrong washer and uneven contact | Assess component and hardware replacement with the supplier |
| Several nearby joints move | Frame condition, alignment, drive vibration and tightening sequence | Inspect the assembly as a system, not as isolated bolts |
| Torque result feels abnormal | Thread damage, bottoming, contamination, tool calibration and prior repair | Stop and inspect instead of forcing the fastener |
Inspect safely and preserve the original reference
Lock out the machine, release stored pneumatic or mechanical energy and support any component that could shift when a fastener is removed. Clean only enough to inspect the joint. Mark component position and shim location before disassembly so the original alignment is not lost.
Check male and female threads, head and nut seating, washer condition, hole shape, component contact, dowels, keys and adjacent structure. A fastener that bottoms before clamping or a hole elongated by movement will not be repaired by extra torque. Escalate cracks, damaged structural members and uncertain safety-critical joints.
Apply the documented tightening method
Use a calibrated tool in the required range and the supplier’s sequence. Multi-fastener flanges, tooling plates and bearing housings may need staged or cross-pattern tightening. Record the tool identity, method, confirmed value and person completing the work. Where the documentation specifies replacement hardware, do not substitute an unverified equivalent.
A torque stripe or witness mark should cross the fastener and the stationary reference after final confirmation. Its purpose is to reveal relative movement during later visual checks. It does not prove thread quality, correct preload or successful calibration, and it should not cover damage that still needs inspection.
Trace the cause of repeated movement
If the mark moves again, investigate the machine condition that loads the joint. Review abnormal vibration, coupling or shaft alignment, chain tension, bearing condition, impact during product transfer and component temperature. The chain, cam and drive timing guide can help when the finding occurs around a synchronized mechanism.
Also compare the joint with maintenance and changeover history. A substituted washer, missing dowel, altered shim stack or reversed component may explain why tightening does not hold. Preserve the sequence of changes rather than replacing several items at once.
Release the machine with follow-up evidence
Restore guards and complete the authorized restart at a controlled condition. Observe the joint only from a safe external position. Check product position, noise, vibration and timing, then inspect the witness mark again after the defined trial and after the maintenance follow-up interval.
Record accepted joints and unresolved items in the shift handover. A joint should be considered restored only when the fastener method, machine function and product result are all confirmed—not simply when the wrench no longer turns.
Frequently asked questions
Does an intact torque mark prove a bolt is tight?
No. It shows that the marked surfaces have not visibly moved relative to each other. It does not confirm correct preload, thread condition, material grade or tool calibration.
Can operators use one standard torque for similar-looking bolts?
No. Joint material, fastener grade, lubrication, locking method and function affect the requirement. Confirm the value and method from the machine or component documentation.
Why does the same fastener loosen after every changeover?
The joint may be seating incorrectly, hardware may be damaged, the tightening sequence may be wrong or the changed tooling may introduce alignment or vibration load. Compare the complete changeover record.
What evidence helps the supplier diagnose a loose joint?
Send the machine model, exact joint location, hardware identity, before-cleaning photographs, movement pattern, approved tightening record, vibration or timing symptoms and recent service history.
Send the machine model, marked joint location, hardware description, safe photographs, approved tightening record and operating symptoms through our inquiry page. HANNAI can review the joint within the delivered machine configuration.