A paper cup machine reject chute or bad-cup removal function must do more than move a defective cup away from the good product path. The system has to identify the intended event, remove the correct cup at the correct station, contain it safely and keep production records reconciled. Because rejection devices vary by machine configuration, diagnosis begins with the delivered sequence rather than an assumed universal layout.
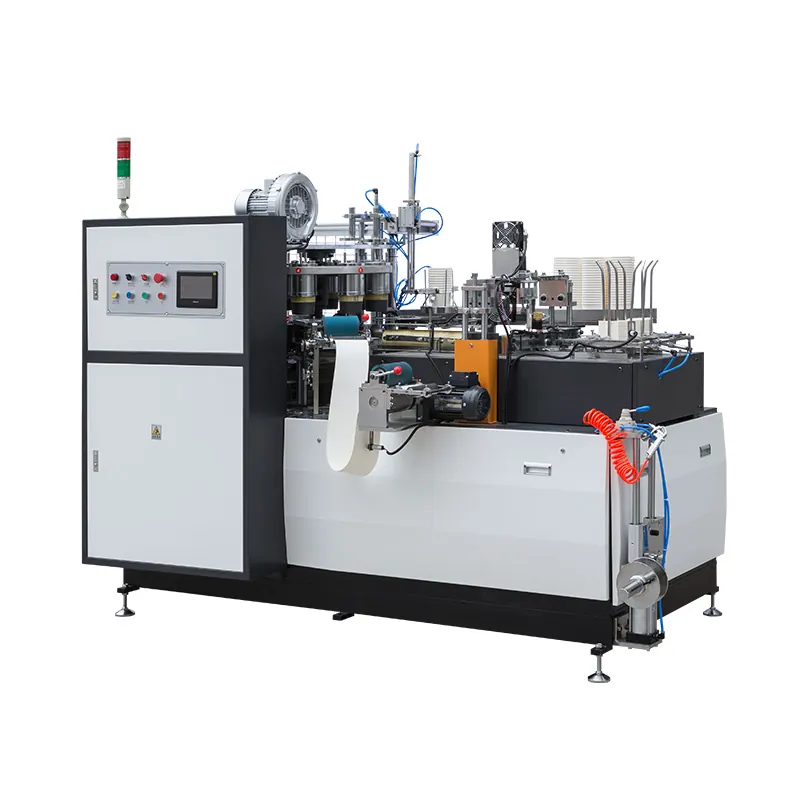
Confirm the installed rejection scope
Review the machine manual, drawings, HMI labels and acceptance record. Identify which defects or events the delivered system can detect, where the reject command originates, how many cycles occur before removal, which actuator or gate diverts the cup, and where the rejected item is collected. Some machines may only stop for an abnormal condition; others may include configured rejection functions.
Do not claim that automatic rejection proves every cup is good. Seal, dimensional, odor, print and functional inspections may require separate offline controls. The defect classification and containment guide helps define which defects are detected in-line, checked by sampling or contained after an event.
Describe the failure as a sequence
Separate four common patterns: a known bad cup remains in the good path; a good cup is rejected; the correct command occurs but the cup jams during diversion; or the physical reject is correct while the counter or batch record is wrong. Record the first affected cycle, machine state, product, speed stage, sensor indication, alarm and cup location.
Use a safely recorded video that shows the external HMI status and guarded product path without exposing personnel to motion. Mark test cups only with an approved method that does not contaminate material or affect sensors. Never reach into a running machine to catch or identify a cup.
Build a reject-path evidence table
| Observed symptom | Evidence to compare | Diagnostic boundary |
|---|---|---|
| Bad cup reaches good stack | Detection event, cycle offset, diverter motion and cup identity | Separate missed detection from late or incomplete removal |
| Good cup is removed | Trigger input, sensor condition, recipe and physical sample | Confirm a false trigger or incorrect cycle association |
| Cup jams at reject point | Cup geometry, guide condition, actuator stroke and obstruction | Separate product instability from mechanical routing |
| Reject bin is empty after event | Actual path, chute access, retained cup and collection container | Find an escaped, trapped or manually removed item |
| Counts no longer reconcile | Formed, rejected, sampled, packed and manually removed quantities | Restore batch identity before release |
Verify detection before changing the diverter
Use the approved diagnostic method to confirm the relevant input changes cleanly and at the expected product position. Inspect accessible sensor faces, targets, cables and mounts only in a safe state. Review whether material color, dust, ambient light, cup position or a changed recipe affects the delivered detection method.
If the command never occurs, focus on the detection and logic boundary. If the command appears correctly but the wrong physical cup is removed, review cycle tracking, transport stability and sequence timing with qualified personnel. Do not move a sensor or change a PLC delay merely to make one test pass.
Inspect the physical rejection route
After lockout and verified isolation, inspect accessible gates, air cylinders where fitted, linkages, chute surfaces, guides, fasteners and the reject container. Look for coating residue, paper dust, bent surfaces, loose mounts, restricted stroke, sharp edges or a cup trapped beyond normal view. Compare witness marks with a known acceptable route.
Confirm that the reject container is installed correctly, has enough capacity for the planned run and cannot return cups to the good-product area. A full bin or displaced chute can create an intermittent jam even when sensing and control are correct. Follow the supplier procedure before lubricating, adjusting or replacing any component.
Trace upstream cup stability
A deformed rim, open seam, unstable base or tilted transfer can cause a cup to miss the rejection route. Compare the cup immediately before the reject station with accepted samples. If the defect follows one material lot or forming station condition, correct the upstream cause instead of widening guides to pass an abnormal cup.
The cup collection and counting guide is relevant when rejected or manually removed cups change stack quantity. The collector should receive a known product flow; it should not conceal an unreconciled reject event.
Use controlled challenge tests
Challenge testing must be defined with HANNAI or the responsible supplier because the detection method and safe test piece depend on configuration. Use only an approved simulation or marked sample. Record the trigger, indicated status, physical cup removed, bin result, counter response and restart behavior for each trial.
Repeat at controlled stages that represent actual operation without exceeding the approved procedure. Test after a stop, reset or batch transition if those events are part of the risk. A single successful rejection does not prove stable tracking; the team must show that detection, cycle association, motion and count remain aligned.
Reconcile product before release
After any rejection fault, contain product from the last confirmed good point. Reconcile formed cups, automatic rejects, inspection samples, manual removals, packed units and cups remaining in the machine or collector. Use the factory’s traceability and quality rules to decide inspection or disposition.
After correction, secure guards, clear tools, follow the approved restart sequence and inspect the defined first-off sample. Record the component or setting changed, evidence before and after, challenge-test result and operator handover. Do not return affected product to the good path without the responsible quality decision.
Frequently asked questions
Does every paper cup machine have an automatic reject chute?
No. Rejection and inspection scope depend on the delivered configuration. Confirm the actual machine documentation and acceptance record before writing a test plan.
Can a sensor light prove the correct cup was rejected?
No. It shows only one part of the sequence. The team must connect the input event to cycle tracking, diverter motion, the physical cup, collection bin and production count.
Should a jammed reject cup be pulled out while the machine runs?
No. Stop and isolate the machine according to the site and supplier procedure before entering a guarded or hazardous area. Preserve the cup position as evidence where safe.
What evidence helps with an intermittent reject fault?
Provide the machine and product identity, sequence description, first alarm, HMI input and output status, safe video, affected cup, count reconciliation and recent mechanical or recipe changes.
Send the machine model, delivered rejection scope, cup drawing, event sequence, alarm and counter evidence, affected samples and a safe external video through our inquiry page. HANNAI can review the detection and physical routing relationship.