Paper bowl machine sidewall seam troubleshooting should connect the flat blank, overlap placement, mandrel support, sealing energy and finished-bowl evidence. A seam can look closed yet remain weak, leak or distort because the blank arrived incorrectly, coating or paper changed, contact became uneven or the bowl moved before the joint stabilized. More heat or energy is not a universal correction.
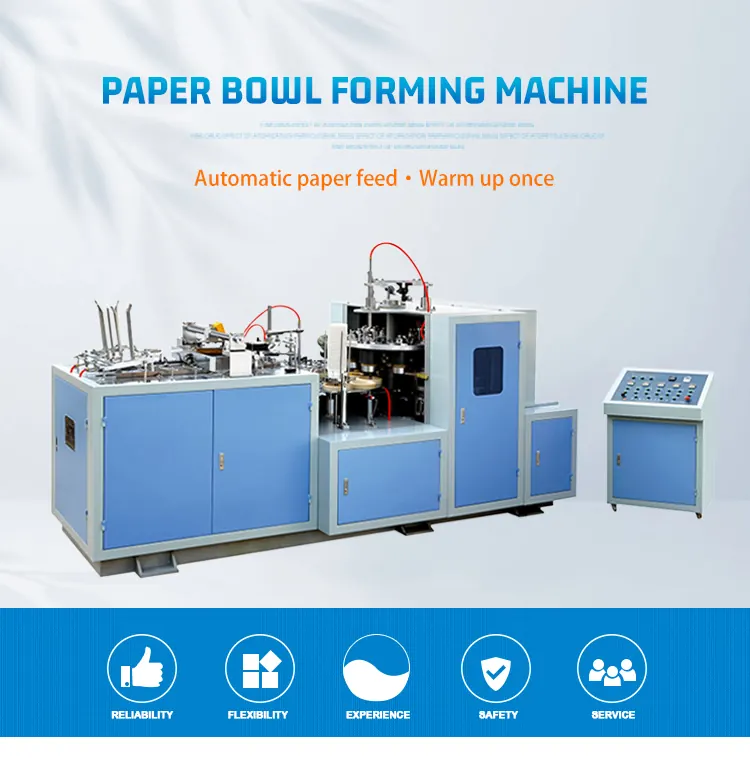
Define the seam and its acceptance boundary
Record bowl drawing, top and bottom dimensions, height, blank drawing, overlap specification, paper or board, coating structure, print orientation, sealing method and approved sample. Define appearance, geometry, leakage or strength checks required for the project without inventing one universal target.
The paper bowl forming and transfer guide covers the complete machine sequence. This guide focuses on the sidewall joint from blank presentation through stabilization.
Preserve seam orientation and cycle order
Mark consecutive bowls with machine direction, seam clock position and cycle sequence. Separate open seam, variable overlap, top or bottom step, burn or discoloration, coating disturbance, wrinkle, local channel, weak bond and deformation after transfer.
Keep the involved blank where possible and compare it with an unused sample from the same lot. A damaged seam may begin with curl, inaccurate blank geometry or edge contamination before it reaches the sealing station.
Use a sidewall-seam evidence table
| Observed pattern | Evidence to inspect | Diagnostic direction |
|---|---|---|
| Overlap changes between bowls | Blank stack, feed reference, guide contact and mandrel seating | Stabilize placement before sealing energy |
| Weak joint stays at one vertical area | Contact surface, heat or ultrasonic interface, contamination and blank edge | Map local process transfer |
| Seam is sealed but bowl becomes oval | Overlap, mandrel support, pressure, release and transfer timing | Review geometry and post-seal handling |
| Fault follows one material lot | Paper, coating, thickness, conditioning, edge and print | Verify incoming material before machine changes |
| Joint opens after bottom or rim forming | Initial seam, downstream load, bowl geometry and process sequence | Separate weak sealing from later stress |
Verify blank geometry and coating first
Compare dimensions, edge condition, curl, grain direction where controlled, coating side, print and contamination with the approved blank. Check storage and conditioning records. A blank that is too curled or dimensionally inconsistent may not sit against the mandrel or overlap repeatably.
Do not change sealing energy to compensate for the wrong material construction. Keep material lots identified and hold suspect blanks until the project specification is confirmed.
Inspect feeding and overlap placement
Observe from outside guards as one blank separates, enters, wraps and reaches the sealing position. Identify the first point where top, bottom or overlap alignment changes. Check guides, pickup, stops, sensors and mandrel seating under the appropriate safe state.
A repeatable but wrong overlap suggests a reference or setup issue; a changing overlap suggests unstable blank presentation, guide contact or transfer. Preserve original settings before authorized correction.
Isolate sealing and forming hazards
Apply lockout and verify electrical, pneumatic, thermal, ultrasonic where fitted, mechanical, spring and gravity isolation before entering the forming area. Heated or ultrasonic tooling can remain hazardous after motion stops, and mandrels or clamps may retain force.
Photograph tooling position, contact marks, fasteners and references before cleaning or adjustment. Never hold a blank by hand during a test cycle or defeat a guard to watch the overlap more closely.
Inspect contact surfaces and support
Inspect the mandrel, sealing contact, horn or heater interface where applicable, backing support, guides and release surfaces for coating transfer, paper dust, adhesive, damage, wear, looseness and uneven contact. Use only approved cleaning methods.
Confirm tooling identity and seating for the bowl format. An incorrect or displaced support can create a joint that looks acceptable at one height and remains weak elsewhere.
Verify energy, pressure and timing as a system
Record the approved recipe and compare actual ready state, command, physical contact and release sequence. Heat, ultrasonic energy, pressure and dwell depend on the delivered method; none should be increased without controlled material and geometry evidence.
Check whether the bowl remains supported while the seam stabilizes and whether downstream transfer loads the joint prematurely. Change one authorized variable at a time and keep the resulting bowls identified.
Prove the joint through bottom, rim and handling
After correction, restore guards, account for tools and follow the documented startup. Run consecutive labeled bowls at controlled stages. Inspect overlap, top and bottom alignment, seam appearance, roundness and any approved functional test.
Continue the same samples through bottom sealing, rim forming, ejection and stacking. Use the bottom-disc feeding and sealing guide if the leak or distortion begins at the base. Release production only when the sidewall joint remains acceptable through the full handoff.
Frequently asked questions
Should sealing energy be increased when a paper bowl seam is weak?
Not until blank identity, overlap placement, contact, support and timing are verified. Excess energy can damage coating, paper or geometry.
Does a closed-looking seam prove the bowl is acceptable?
No. The project may require dimensional, leakage, bond or handling evidence in addition to appearance.
Why can a seam open during bottom or rim forming?
The initial joint may be weak, or downstream forming may impose abnormal stress because bowl geometry, timing or tooling is incorrect.
What evidence should be sent for diagnosis?
Provide bowl and blank drawings, material and coating lot, cycle-marked bowls, seam orientation, isolated tooling photos, recipe reference and downstream results.
Send the machine model, bowl and blank drawings, paper and coating data, cycle-labeled seam samples, isolated tooling photos, approved recipe reference and downstream test results through our inquiry page. HANNAI can review the seam process for the supplied configuration.