A formed paper bowl should leave its tooling without tearing coating, dragging the sidewall or adding repeated surface scuffs. Difficult release can come from deposits, surface damage, off-center tooling, insufficient release airflow, transfer timing, paper variation or contact elsewhere in the station. The mark pattern on the bowl is the starting evidence; increasing air or applying an unapproved release agent can contaminate product and hide the real cause.
Identify the tooling and release direction
Record machine model, bowl size, tooling set, affected station, male and female tool identities, release-air features, ejector or transfer components and the intended bowl movement after forming. Confirm the approved surface condition and cleaning method from the tooling documentation.
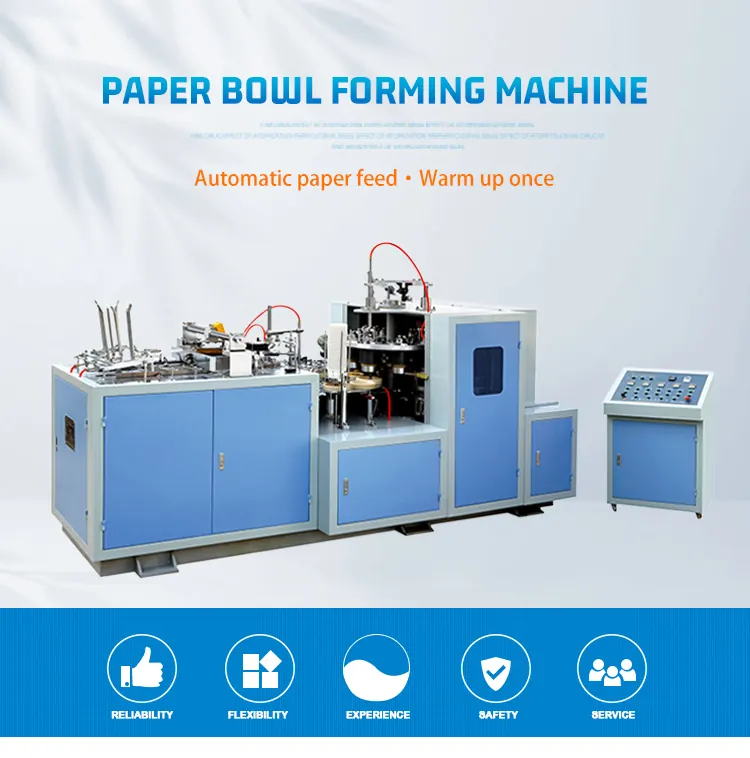
The paper bowl machine page shows the overall forming application. Actual draft, clearance, finish and release settings depend on the bowl drawing, material and delivered tooling.
Map every mark on labeled bowls
Mark machine direction, seam position, station and time on sequential bowls. Note whether scuffs are glossy, abraded, cut, folded or coated with transferred material. Compare mark height and angle with mold edges, guides, rim tooling and transfer contact.
Preserve good and bad samples from the same material lot. Record whether release becomes worse after warm-up, cleaning, a jam or longer running time. Do not polish the tooling before the contact map is documented.
Use a release-condition evidence table
| Observed condition | Evidence to collect | Diagnostic direction |
|---|---|---|
| Scuff repeats at one angle | Station-marked bowl, tool surface and transfer orientation | Look for local contact or a raised deposit |
| Bowl lifts then drops back | Release air, ejector travel, vacuum, timing and transfer readiness | Inspect the release-to-transfer handoff |
| Problem worsens during a run | Tool buildup, temperature, material dust and airflow condition | Find the accumulating influence |
| Only one material lot sticks | Coating, thickness, moisture, storage and blank geometry | Verify material contribution |
| New tool also scuffs bowls | Mounting reference, adjacent guides, alignment and process sequence | Find the system contact source |
Isolate the forming station safely
Apply lockout and control electrical, pneumatic, vacuum, spring and gravity energy. Use the approved tooling access position and mechanical blocking method before entering the mold area. Stored air in release passages or cylinders can move an isolated component.
Photograph tooling orientation, shims, fasteners, timing marks, air connections and witness marks before disassembly. Protect product-contact surfaces from uncontrolled tools and contamination.
Inspect product-contact surfaces
Use clean directional light to inspect working surfaces for paper dust, coating transfer, adhesive, corrosion, scratches, dents, burrs, edge damage and uneven polish. Check air holes and grooves without forcing debris deeper. Follow the approved cleaning method and confirm all residues are removed.
Do not use abrasive paper, metal tools, oil or release chemicals unless the tooling and food-packaging procedure explicitly permits them. Surface modification can change dimensions and product safety.
Check alignment, clearance and support
Inspect locating faces, retaining hardware, guide posts, bearings, slides and platen support for looseness, fretting or play. Measure alignment or clearance only from the defined references and machine position. Compare with the tooling drawing or a qualified known-good station.
An off-center mold may release on one side and drag on the other. Do not adjust one half to compensate for bent supports, incorrect shims or contamination under a mounting face.
Verify release air, ejector and transfer timing
Trace the release-air or ejector circuit from command to outlet. Check filters, valves, tubing, passages, cylinder movement and sensor feedback. Record loaded response at the release event rather than relying on a static supply reading.
Use the paper bowl forming and transfer troubleshooting guide when the bowl releases but is not captured cleanly. Release and pickup must occur in the intended sequence.
Separate material and upstream forming effects
Verify paper and coating identity, thickness, moisture protection, blank dimensions, seam condition and storage. Inspect whether the bowl is already distorted, over-compressed or contaminated before release. A deformed product may grip the tool even when the surface is clean.
Compare controlled samples from an approved lot without changing multiple machine variables. Document material evidence so a tooling correction is not used to hide incoming variation.
Prove release with staged samples
After approved cleaning or service, account for tools, restore air connections and guards, and use the documented manual or slow-cycle procedure. Confirm full mold clearance, release movement and transfer path without a product first where permitted.
Run labeled bowls in short stages. Inspect the complete circumference under consistent light, confirm surface and dimensional quality, and monitor whether marks grow with time. Record tooling state, material lot, settings and accepted first-off samples.
Frequently asked questions
Can a release agent be sprayed on the mold?
Not unless the machine, tooling, material and food-contact process explicitly approve it. An unapproved chemical can contaminate bowls and mask surface damage.
Does more release air always improve bowl removal?
No. Excess air can disturb transfer or the product. First inspect restriction, timing, geometry and the documented pressure range.
Should every scuff be blamed on the mold?
No. Guides, rim tools, transfer parts and downstream contact can create similar marks. Map the defect to its angular and height position.
What evidence should be sent for review?
Send bowl and material identity, station-marked samples, mold photos, alignment evidence, release sequence video, airflow observations and cleaning history.
Send the machine model, bowl drawing, tooling identity, mapped samples, isolated surface photos, release-air evidence and material record through our inquiry page. HANNAI can review the supplied forming and release configuration.