A paper plate and box forming machine relies on its moving platen, guide posts, bushes and tooling supports to close along the intended path. Loss of parallelism or guide wear can create uneven forming depth, one-sided trimming, wrinkles, accelerated tool wear or repeated jams. Inspection should separate platen geometry from tooling installation, material placement and forming-force distribution before shims or pressure settings are changed.
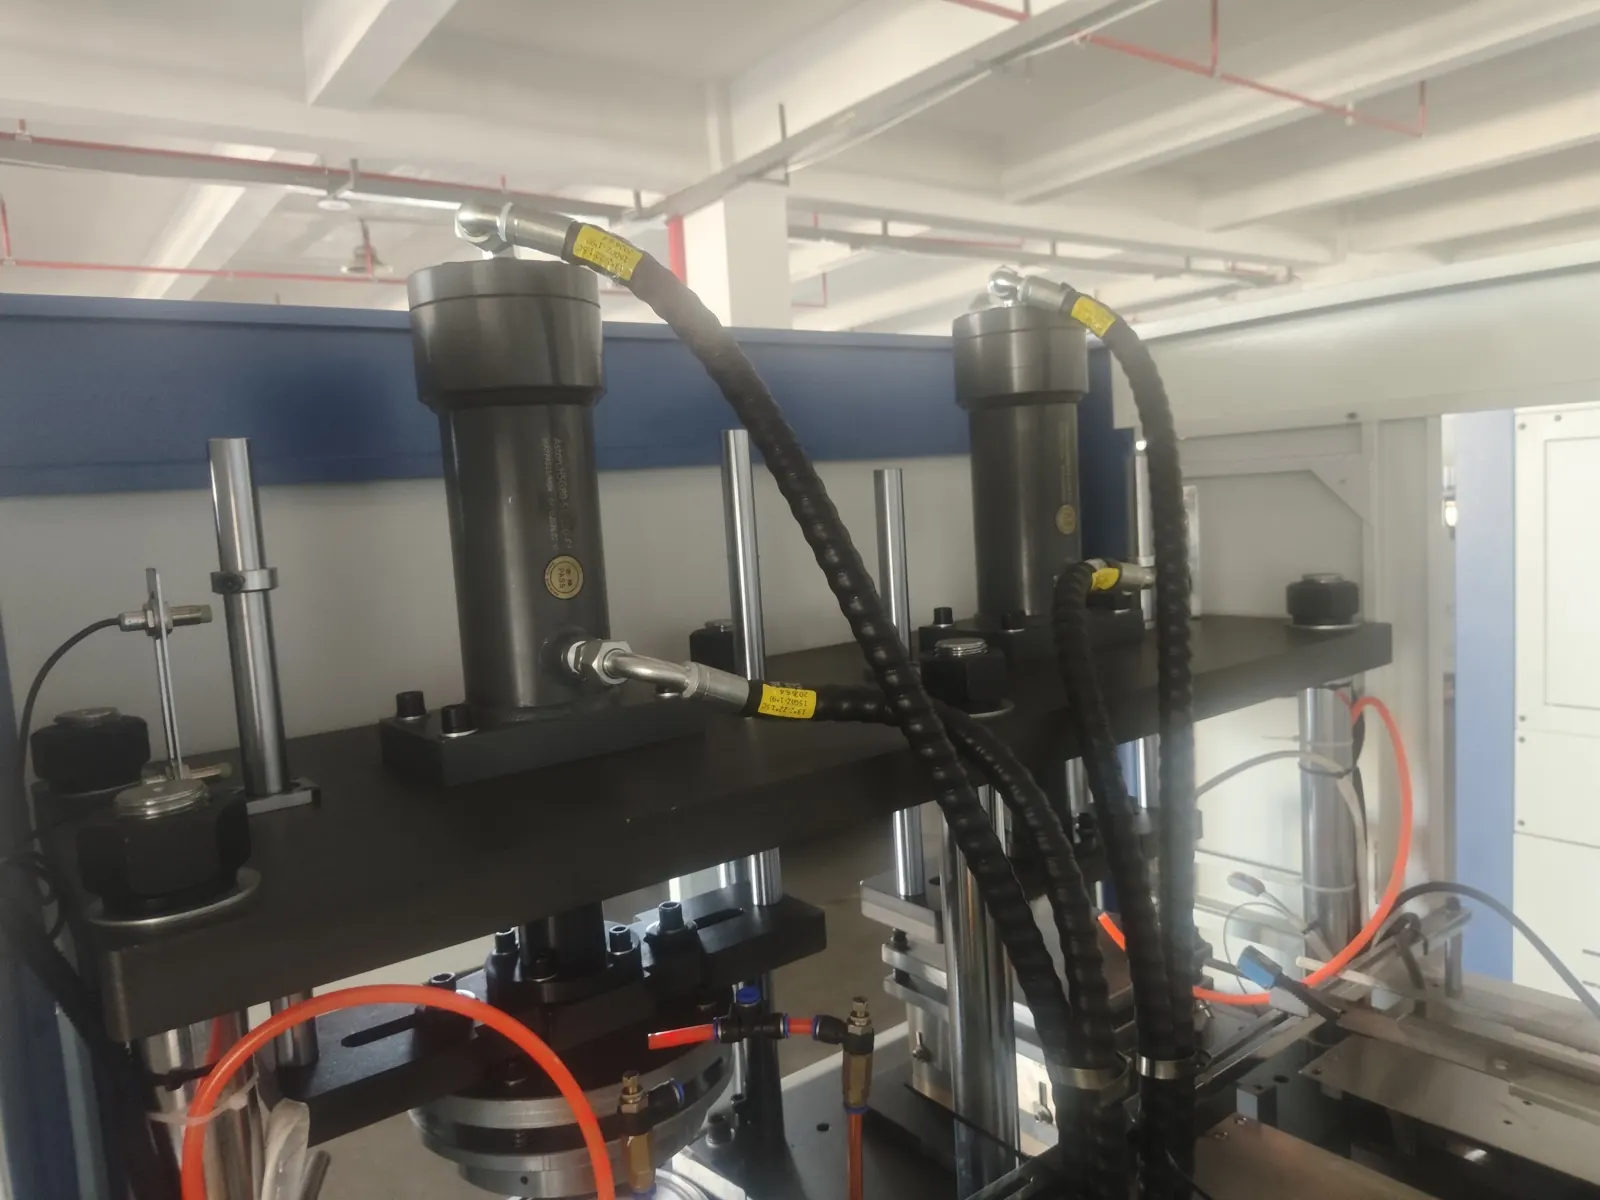
Define the closing system and product defect
Identify machine model, tool set, product drawing, fixed and moving platen references, guide-post locations, bushes, drive or cylinder connection and forming stops. Record which product feature varies and whether it follows one corner, one tool, one material lot or a specific point in the stroke.
The paper plate and box machine page provides the equipment context. Final forming depth, pressure, tool clearance and platen criteria depend on the delivered application.
Map product variation by platen position
Mark products with front, rear, operator side, drive side, tool cavity and time. Compare forming depth, edge shape, trim, crease and release around the product. A consistent shallow corner provides stronger geometric evidence than a general statement that pressure is low.
Preserve good and bad samples, material identity and the tool setup record. Note whether the problem appears cold, after warm-up, at higher cycle rate or following a collision or tool change.
Use a platen-and-guide evidence table
| Observed condition | Evidence to collect | Diagnostic direction |
|---|---|---|
| One corner forms shallow | Mapped products, platen reference readings and tooling contact | Separate platen geometry from local tool setup |
| Guide post shows one-sided polish | Bush condition, lubrication, frame alignment and side load | Find the source of lateral force |
| Platen binds near one stroke position | Guide clearance, contamination, drive linkage and tool interference | Map resistance through the stroke |
| Parallelism changes under load | Frame support, connection points, tool force and structural movement | Compare unloaded and approved loaded evidence |
| New bush wears quickly | Post surface, alignment, lubrication and installation record | Correct the system cause before replacement |
Control stored energy and support the platen
Apply lockout and control electrical, pneumatic, hydraulic, spring and gravity energy. Use the machine’s documented support or blocking method before working between platens. A stationary pressure indication or stopped drive does not prove the moving platen is mechanically secured.
Photograph shims, stop settings, tool position, guide-post marks, fasteners and drive connections before loosening anything. Never place measuring blocks in the closing area without an approved safe procedure.
Inspect guide posts, bushes and lubrication
Clean with an approved method and inspect posts for scoring, corrosion, impact, discoloration, taper, deposits and uneven polish. Check bushes, seals, retainers and lubrication points for damage, movement and contamination. Record condition by guide location rather than combining all findings.
Verify lubricant identity and delivery evidence. Excess lubricant near paper can contaminate products, while a dry interface can wear and bind. Replacement parts must match the supplied post and bush design.
Measure platen references in the correct state
Confirm the specified measurement surfaces, stroke position, tool condition and whether the inspection is performed unloaded or with an approved setup fixture. Qualified personnel should use calibrated instruments and record each corner or defined grid point more than once.
Separate platen-face variation from dirt, damaged tooling plates, loose mounting hardware and instrument setup. Compare with the supplier drawing or validated baseline; do not invent a universal parallelism tolerance.
Inspect drive connections and frame support
Check cylinder or linkage pins, bearings, pivots, screws, tie elements, fasteners and frame foundations for looseness, fretting or unequal loading. Inspect whether a connection pulls the platen sideways through part of the stroke.
Look for evidence of a prior jam, off-center load or tool collision. Adjusting shims at the platen may conceal a bent guide, worn joint or frame-support issue.
Separate tooling and material causes
Verify upper and lower tool identity, mounting faces, locating features, shims, cavity cleanliness and material placement. Inspect paper or board thickness, moisture, blank dimensions, crease location and feeding position. Local product variation may come from one tool surface rather than the platen.
Use the tooling and pressure troubleshooting guide to review process force after geometry is verified. Pressure should not be raised to overcome binding or misalignment.
Prove the full stroke and product result
After approved correction, restore lubrication, fasteners, sensors and guards. Use the documented manual or slow-cycle sequence to observe clearance and smooth guide movement through the full stroke. Stop if resistance, side movement or abnormal contact appears.
Run labeled products in small stages, measuring the mapped features at every platen position. Monitor guide temperature and sound, recheck witness marks and confirm release. Record final measurements, tooling setup, material lot and first-off approval.
Frequently asked questions
Can uneven products be corrected by increasing pressure?
Not safely without diagnosis. Higher force can worsen guide wear or tool damage when geometry, placement or binding is the real cause.
Does polished guide-post surface always mean normal wear?
No. One-sided or localized polish may show misalignment, poor lubrication, contamination or lateral loading.
Can platen parallelism be measured at any stroke position?
No. Use the specified machine state, reference surfaces, tool condition and measurement method.
What evidence supports supplier review?
Provide machine and tool identity, mapped products, guide-post photos, referenced measurements, stroke-position evidence, lubrication record and recent jam history.
Send the machine model, tool and product drawing, mapped samples, isolated guide photos, referenced measurements and service history through our inquiry page. HANNAI can review the closing system for the supplied configuration.