Paper plate and box forming machine tooling and pressure troubleshooting should begin with the actual blank, mold set and accepted product sample. Wrinkles, shallow forming, uneven rims, surface marks and distorted trays can result from material presentation, mismatched tooling, uneven loading, heat where fitted or release and transfer conditions. A single pressure change cannot diagnose all of these causes.
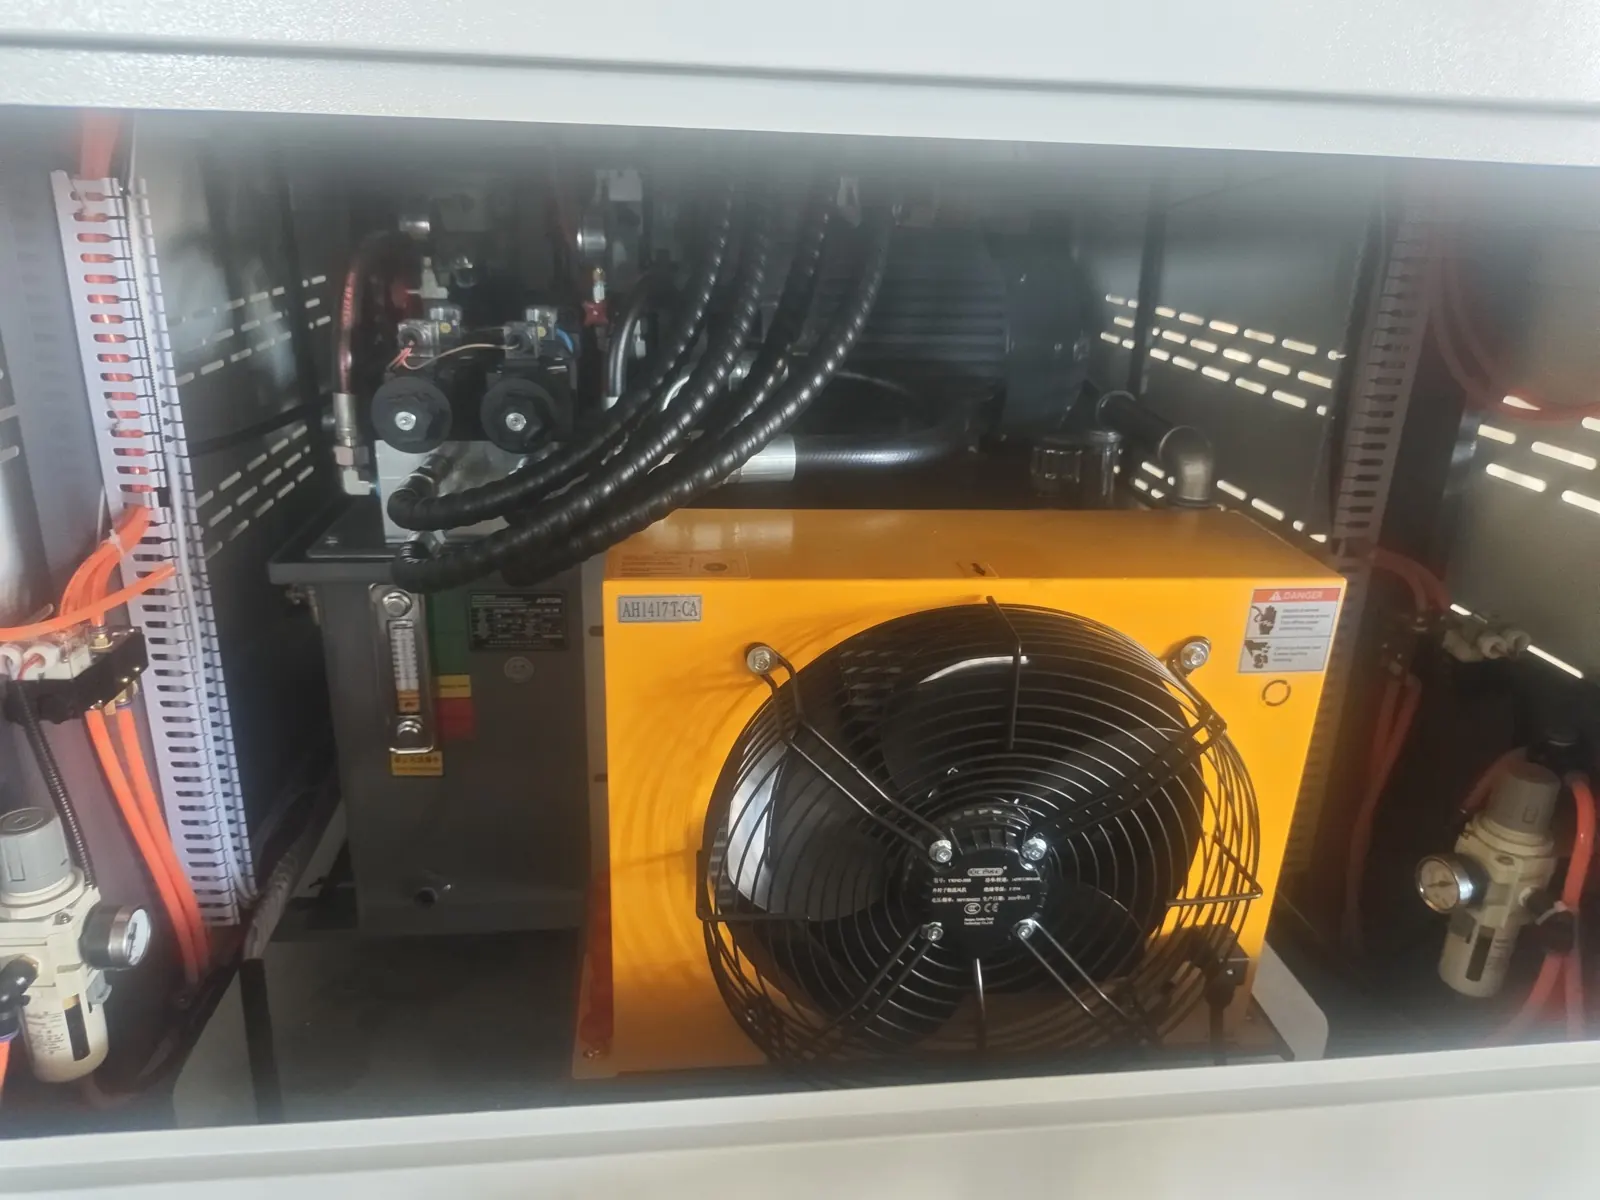
Define the product and defect location
Confirm whether the machine is forming a plate, tray or paper food box and record the blank drawing, material construction, coating, intended orientation, tooling identity and accepted sample. Mark machine direction and collect consecutive products showing the first abnormal feature.
Classify the symptom: incomplete depth, wrinkles, cracks, asymmetric flange, uneven rim, sticking, surface marking, poor release, distortion after discharge or inconsistent dimensions. A repeatable defect at one clock position provides different evidence from a random defect.
Use a tooling and pressure evidence table
| Check point | Evidence to record | Diagnostic question |
|---|---|---|
| Blank | Dimensions, board, coating, orientation, curl and lot | Does the input match the approved format? |
| Tool set | Mold ID, matched components, cleanliness and reference marks | Is the correct complete set installed? |
| Presentation | Blank centering, guide contact and pickup consistency | Does each cycle begin from the same position? |
| Forming load | Approved machine indication, repeatability and side-to-side evidence | Is loading stable and distributed correctly? |
| Product map | Depth, rim, wrinkle and mark position on consecutive samples | Does the defect map to material, tool or machine position? |
| Release | Sticking, ejection, transfer and post-forming shape | Is a good product damaged after forming? |
| Acceptance | Dimensions, stack, fit and buyer-required functional test | Has repeatable product function returned? |
Confirm matched tooling and blank compatibility
Verify the mold or tool set against the job record and drawing. Components that look similar may differ in depth, rim profile, clearance or support. Check that matched upper, lower and auxiliary parts belong together and that the blank dimensions and material were approved for this set.
The paper plate and box machine buyer guide explains why samples, dimensions, material and tooling scope must be confirmed before quotation and acceptance.
Stabilize blank centering before changing load
Observe whether one blank is picked and positioned consistently. Mark orientation and compare the edge-to-tool relationship on consecutive cycles. Skew or off-center presentation can cause a shallow area on one side and excessive compression on the other, mimicking uneven pressure.
Under safe isolation, inspect accessible guides, pickup surfaces, sensors and support points for contamination, damage, looseness and shifted marks. Do not squeeze guides against the blank to force centering.
Inspect tool faces and alignment safely
Apply the machine-specific lockout procedure and control hydraulic, pneumatic, electrical and gravitational energy before entering the forming zone. Verify zero energy according to the site procedure. Inspect tool surfaces, alignment features, fasteners, locating elements and clearances for debris, coating transfer, damage or mismatched assembly.
Never place any part of the body between tools, even when the machine is stopped. Mechanical blocks or restraint devices must be those specified for the equipment and applied by trained personnel.
Evaluate pressure as a controlled system
Use only the delivered machine indication and approved test method to assess repeatability. A gauge or HMI value alone does not prove that force reaches the tooling evenly; alignment, structure, support and moving-component condition also matter. Compare product geometry across the tool rather than chasing one displayed number.
Do not increase system pressure beyond the supplier’s configuration or alter relief and protection devices. Internal hydraulic or pneumatic inspection belongs to qualified personnel because stored pressure can remain after shutdown.
Record whether the indicated condition is reached smoothly, remains stable through the forming event and returns as expected in the approved cycle. A fluctuating indication can be a useful symptom, but it does not identify a pump, valve, seal or sensor by itself. Qualified personnel should relate it to the hydraulic or pneumatic drawing, leakage evidence, fluid or air condition and actuator movement before deciding which component requires service.
Separate material response from machine condition
Compare defects by material lot, coating side, conditioning and blank orientation. Wrinkling or cracking may change with stiffness, moisture, fiber direction, pre-crease and forming depth. However, confirm tool condition and centering before concluding that material is the sole cause.
Change one controlled variable at a time and retain labeled samples. This creates evidence that can be reviewed with the board, tooling or machine supplier.
Inspect release and downstream handling
Determine whether the product is already deformed in the tool or becomes damaged during ejection, pickup, transfer or stacking. Surface marks at a fixed tool position suggest a different boundary from scuffs that appear along a conveyor guide.
Review product temperature where the delivered process uses heating, but do not apply generic temperature values. Heating equipment and settings are configuration-dependent and require the supplied instructions.
Release by dimensions and function
After correction, clean and reassemble using the approved procedure, account for tools, restore guards and run staged cycles. Measure consecutive products for the agreed dimensions and inspect rim, depth, wrinkles, cracks, surface and stacking or fit function.
The HANNAI paper plate and box machine is reviewed against the target plate, tray or container sample. Acceptance must follow the delivered mold, machine configuration and buyer requirement rather than a universal setting.
Frequently asked questions
Does shallow forming always mean pressure is too low?
No. Off-center blanks, wrong or dirty tooling, restricted motion, material stiffness and incomplete process conditions may produce a shallow result.
Why are wrinkles heavier on only one side?
Check blank centering, orientation, matched tooling, alignment, support and material behavior. Mark samples so the defect can be mapped to machine and blank direction.
Can similar-looking molds be mixed between formats?
Not without documented engineering confirmation. Small differences in profile, depth and clearance can damage the product or machine.
When must qualified maintenance personnel take over?
Before entering the tool area, measuring or opening pressure circuits, changing relief or protection settings, realigning tooling or handling stored hydraulic, pneumatic or gravitational energy.
Send the product drawing and sample, blank material, tool-set identity, orientation-marked defects, safe cycle video, approved machine indications and change history through our inquiry page. HANNAI can review the evidence and project-specific configuration.