A double-wall cup sleeve seam step occurs when the two overlapping sleeve edges meet at different axial heights. The result may be visible at the top, bottom or both. This is a geometric alignment question before it is an adhesive-strength question, and it should be measured separately from overall sleeve height on the cup.
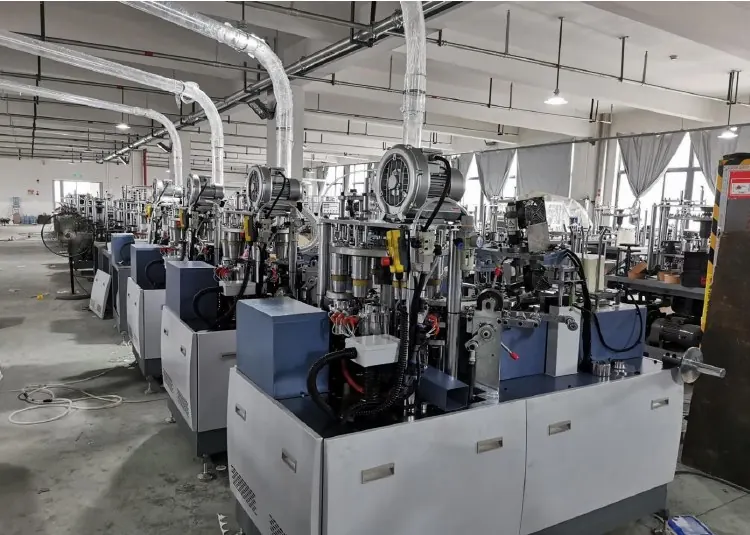
This guide addresses an offset across the sleeve overlap, not a whole sleeve positioned too high or low. The photograph provides general paper cup production context and is not a close-up of a double-wall wrapping station. Use the delivered tooling and blank drawings for all acceptance limits.
Diagnostic decision table
| Pattern | Investigate | Reference |
|---|---|---|
| Similar step on every sleeve | Blank geometry or fixed setup | Approved blank drawing |
| Step varies from cycle to cycle | Feed skew or inconsistent pickup | Entry orientation |
| Entire sleeve high with edges aligned | Axial placement, not seam step | Cup-to-sleeve datum |
| Step appears after pressing | Movement during bonding | Before-and-after position |
Define two separate measurements
Mark the sleeve seam location on collected samples. Measure the difference between the corresponding top edges at the overlap using the approved method, then repeat at the bottom. Separately measure overall sleeve position relative to the specified inner-cup datum. Keep these results in different columns.
A sleeve can have acceptable overall height but a stepped seam, or a straight seam with the entire sleeve misplaced. Combining both into one description of crooked sleeves leads to confusing adjustments. Preserve photographs from a consistent viewing angle and identify the material lot, cup reference and collection time for each sample.
Check blank geometry before changing the station
Compare unformed sleeve blanks with the approved drawing using appropriate measuring equipment. Check the relevant edge relationships, orientation and dimensions without inventing a tolerance from a finished sample. A cutting or material-shape issue should be escalated with the actual blank evidence.
Look for consistent variation across the blank stack and distinguish a damaged edge from a systematic shape difference. Keep a known acceptable blank as a controlled reference where available. Do not trim production blanks by hand to compensate for the problem; that changes the geometry and removes traceability needed for the supplier review.
Observe orientation during pickup and feeding
Use guarded observation to compare blank alignment before pickup and as it enters the wrapping operation. Record whether the same edge leads consistently or whether skew changes between cycles. A varying seam step is useful evidence for an inconsistent presentation, but does not by itself identify which guide or pickup element is responsible.
Inspect accessible guides, contact surfaces and vacuum components only under the authorized safe-state procedure. Follow the documented blank-feed setup instead of forcing the blank against a tighter guide. Preserve the original adjustment positions and change only the component supported by the observed deviation.
Separate wrapping alignment from adhesive behavior
Where the machine procedure permits staged inspection, compare seam geometry before and after the pressing operation. Determine whether the offset is already present at wrapping or develops as the sleeve is held and bonded. This distinction prevents unnecessary adhesive changes when the geometry is wrong before contact.
If movement occurs during pressing, inspect the approved support and contact arrangement with the supplier. Do not increase adhesive quantity or pressing force simply to restrain a misaligned blank. Those changes can create squeeze-out, surface marking or a different fit problem. Maintain the specified adhesive and cure conditions while evaluating alignment.
Validate the seam around the complete cup
After the approved correction, compare top and bottom seam steps, overall sleeve position and bond condition on representative samples. Check handling and stacking behavior against the product specification. A visually aligned top edge does not prove that the bottom edge or inner-cup fit is acceptable.
Keep the blank drawing revision, setup changes and before-and-after measurement sheet together. State whether the deviation was repeatable or intermittent and which stage first showed it. Send HANNAI both unformed blanks and finished-sleeve photographs when seeking support; this evidence helps separate cutting geometry, feed orientation, wrapping position and movement during bonding.
Related equipment and next checks
Review the double-wall cup machine and the related guide to sleeve seam pressing and cooling. The Engineering Notes archive connects these checks with wider machine planning.
Frequently asked questions
Is seam step the same as sleeve height error?
No. Measure edge-to-edge offset and whole-sleeve placement separately.
Can more adhesive correct a skewed blank?
It does not establish correct geometric alignment.
Should only the top edge be checked?
No. Compare top, bottom and the specified cup datum.
Why retain an unformed blank?
It allows blank geometry to be separated from machine-induced movement.
Review the evidence with HANNAI
Send your machine model, component identification and the observations described in this guide. Include the drawing or material reference and any before-and-after measurements so the required next check can be identified.