Double-wall cup glue squeeze-out is not always caused by excessive adhesive delivery. A correctly sized deposit placed too close to a sleeve edge, an incorrect sleeve fit or adhesive transferred from a dirty guide can create a similar mark. The first decision is whether the contamination comes from the intended bond line or another contact surface.
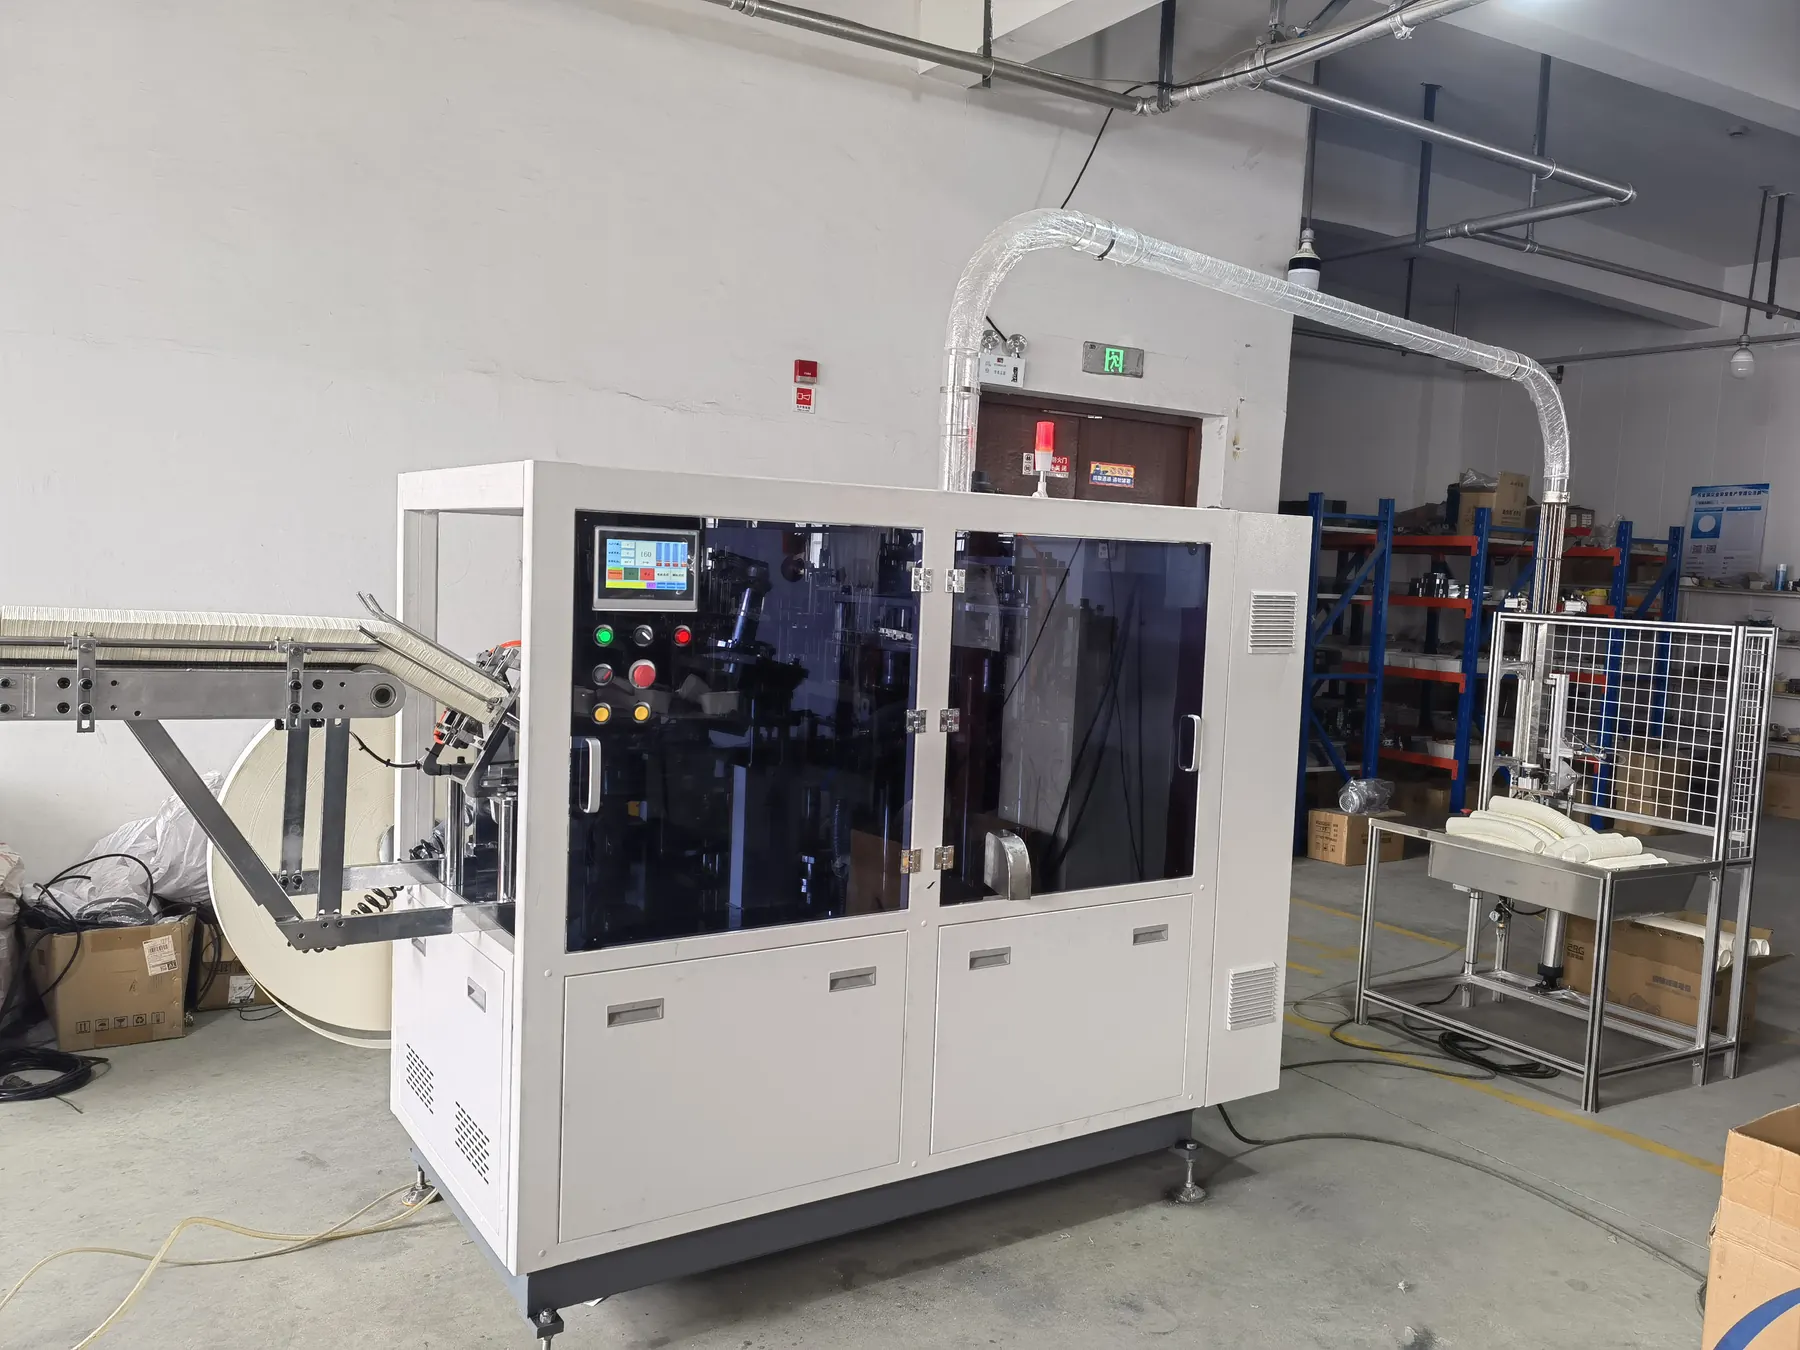
Identify whether the affected bond joins the sleeve seam or attaches the outer sleeve to the inner cup. These locations may have different application methods. The photograph is cup-forming workshop context, not a close-up or identification of the sleeve adhesive system.
Diagnostic decision table
| Observed mark | Comparison | Likely inspection |
|---|---|---|
| Glue emerges directly from bond edge | Deposit before assembly | Amount and placement |
| Smear repeats away from bond line | Machine contact sequence | Contaminated guide or pressing surface |
| Problem follows a sleeve lot change | Approved sleeve and inner cup pair | Fit and geometry |
| Bond looks clean but separates later | Conditioned bond test | Adhesive and process window |
Contain affected cups and identify the bond
Mark the exact contaminated location on a sample drawing and retain representative cups. Separate visible squeeze-out, strings, transfer smears and unrelated coating marks. Identify the adhesive product and whether the station uses hot melt, a water-based system or another approved process.
Do not assume that an external adhesive mark is acceptable because it is outside the cup interior. The product specification and intended use determine disposition. Keep suspect production separate until the responsible quality review is complete; wiping the surface is not proof that the original bond or cleanliness requirements are satisfied.
Inspect the deposit before compression
Use the approved sampling method to record deposit position, continuity and quantity before the parts are brought together. Do not reach through guards to collect a blank. Compare with the validated pattern drawing and an accepted setup record rather than estimating from the final smear alone.
If the deposit is consistent but offset, investigate registration or application timing before reducing output. If quantity varies, investigate delivery stability through the related nozzle-pattern guide. Keep these observations separate so a placement fault is not hidden by starving the entire bond line of adhesive.
Check sleeve fit and the available bond area
Compare the sleeve blank, inner cup and tooling references as a matched set. Review overlap, taper and seating against the approved drawing. An unexpected local gap or interference can redistribute adhesive during assembly even when the applicator has not changed.
Map the contaminated edge relative to the seam and pressing tool. Inspect guides and contact surfaces under isolation and safe cooling for old deposits that transfer onto each new cup. Clean only with the approved method for the adhesive and equipment. Restart samples should confirm that the mark originates from the current process, not retained contamination.
Run a controlled amount-and-placement trial
Agree a bounded trial with the machine and adhesive suppliers. Preserve material identity, temperature where applicable, application timing and pressing conditions while testing one suspected variable. The useful outcome is a stable bond with controlled placement, not simply the smallest visible glue deposit.
Henkel packaging guidance emphasizes matching adhesive type and application amount to the process. It does not provide a universal dose for a double-wall cup. Avoid changing temperature to thin an adhesive or adding water unless the applicable technical instructions explicitly permit the change. Record every approved adjustment and its corresponding sample.
Test the bond after its required conditioning
Inspect squeeze-out immediately, then assess bond integrity after the agreed setting or conditioning period. Include startup, normal running and a representative stop-restart condition because application behavior can differ across those states. Retain sample identity throughout the comparison.
Check sleeve position, nesting, external cleanliness and any product-specific functional tests as separate requirements. A clean surface does not establish bond strength or food-contact suitability. Send HANNAI the adhesive reference, matched cup/sleeve drawings, pre-assembly deposit photos and conditioned test results to support a precise next-step review.
Related equipment and next checks
Review the double-wall paper cup equipment and the related guide to adhesive nozzle pattern verification. The Engineering Notes archive connects these checks with wider machine planning.
Technical reference
- Henkel packaging and converting adhesive application context — general reference; confirm applicability to the installed equipment.
Frequently asked questions
Does visible glue always mean too much was dispensed?
No. Placement, fit and transferred contamination can create similar marks.
Should the adhesive output simply be reduced?
Only through a controlled trial that also verifies the conditioned bond.
Can one setting cover seam and sleeve-to-cup bonds?
Not necessarily; identify each bond and its approved process.
Does a clean exterior prove product compliance?
No. Follow the product specification and separate material and quality approvals.
Review the evidence with HANNAI
Send your machine model, component identification and the observations described in this guide. Include the drawing or material reference and any before-and-after measurements so the required next check can be identified.