Hamburger box machine bond failures can occur after adhesive has reached the correct flap. The carton may reopen, skew or mark because compression contact, hold sequence, blank memory, adhesive open time, temperature, coating or downstream release is unsuitable. Troubleshooting should separate adhesive delivery from the mechanical setting stage and follow the box through handoff.
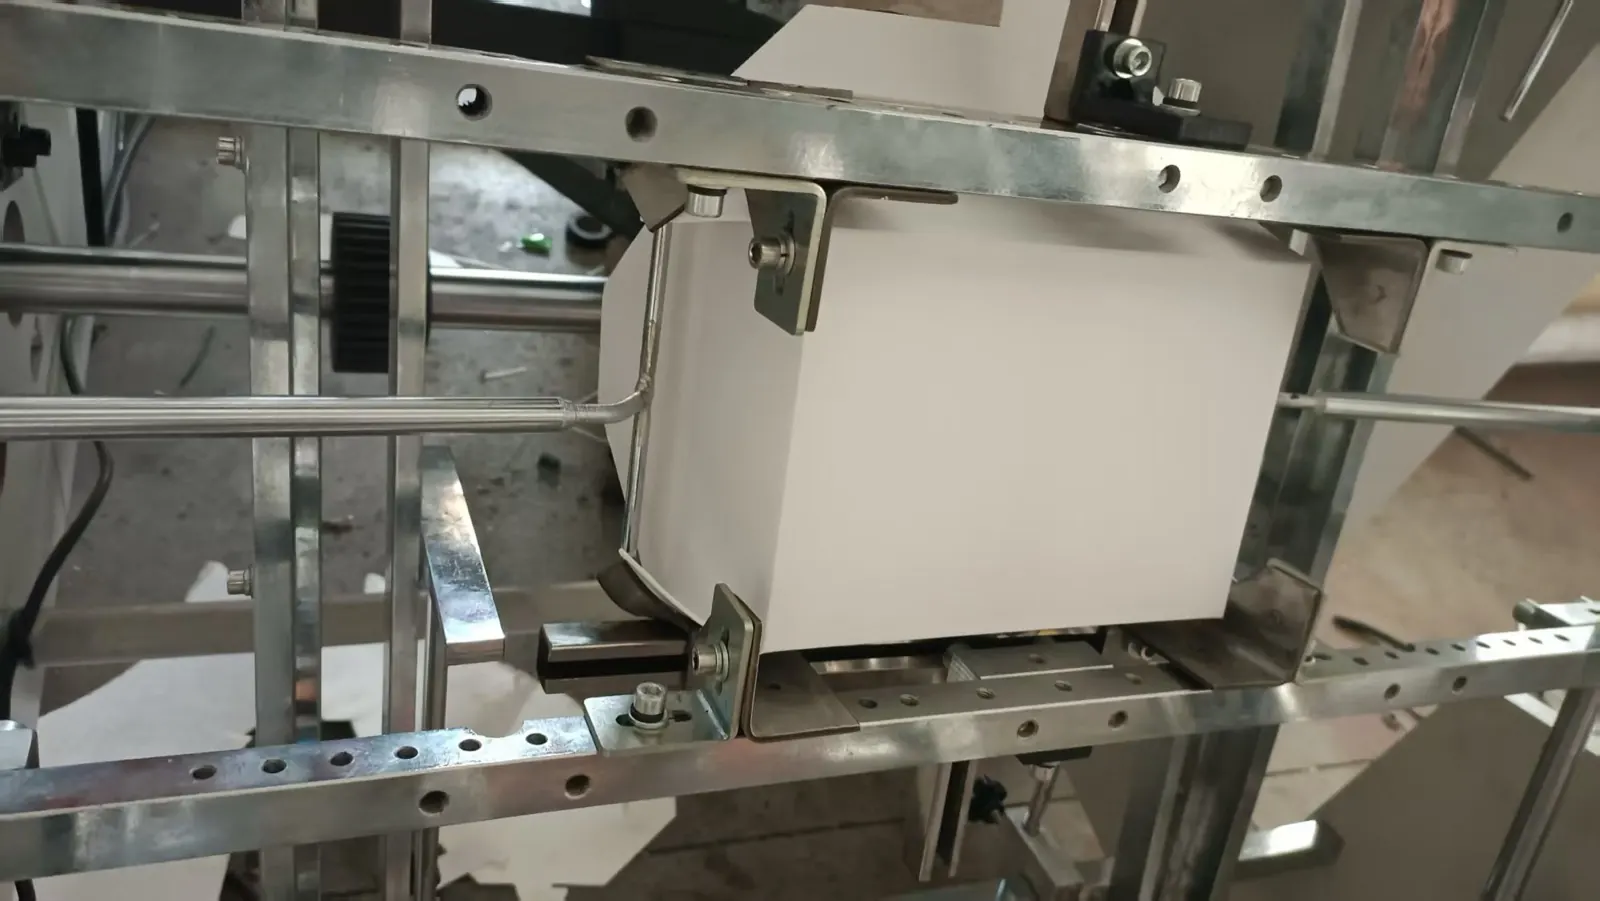
Define where the bond first loses control
Collect consecutive cartons and label them before compression, immediately after release and after the normal packing delay. Separate missing adhesive, misplaced bead, poor flap contact, reopening, springback, skew, squeeze-out, surface marking and bond failure during handling.
The adhesive delivery and nozzle guide covers supply and placement. Continue with compression diagnosis only after the adhesive reaches the intended bond area consistently.
Record material and adhesive conditions
Identify blank drawing, board, coating, print, grain direction, crease condition, storage lot and adhesive system approved for the project. Record room condition, machine speed, warm-up or ready state, pot or system status where applicable, and time since the relevant material was prepared.
Do not publish or copy one universal temperature, pressure or hold time. Adhesive chemistry, board surface, carton geometry and delivered machine design determine the controlled process window.
Use a compression-and-set evidence table
| Observed pattern | Evidence to inspect | Diagnostic direction |
|---|---|---|
| Flap opens immediately after release | Adhesive placement, contact area, hold sequence and blank springback | Review contact and initial set |
| Box stays closed, then opens later | Adhesive compatibility, coating, cure condition and handling delay | Separate temporary tack from final bond |
| One corner bonds better than another | Flap geometry, compression-pad contact, alignment and adhesive map | Find uneven contact or presentation |
| Adhesive squeezes outside the seam | Bead amount, compression, flap overlap and contamination | Control application and contact together |
| Fault increases with speed | Cycle timing, available hold, adhesive readiness and downstream acceleration | Compare process time with machine demand |
Isolate the forming and compression area
Stop through the approved sequence, apply lockout and verify electrical, pneumatic, thermal, spring and gravity isolation before reaching forming tools or compression pads. Adhesive equipment and contact surfaces may remain hot after the drive stops.
Preserve the last failed carton and machine position where safe. Photograph reference marks before loosening guides, stops or compression components.
Inspect blank folds and flap presentation
Compare blank dimensions, crease quality, fold direction, flap overlap and springback with an approved sample. A stiff, cracked or inaccurately creased flap may resist contact or move the carton during compression even when adhesive placement is correct.
Use the carton squareness and fold-line guide when the box enters the setting stage out of geometry. Do not increase compression to force an incorrect blank into shape.
Inspect compression contact and alignment
Under isolation, inspect pads, plates, fingers, belts or other holding elements in the supplied configuration. Look for adhesive buildup, paper dust, wear, hardening, damage, uneven height, loose supports and contact marks. Compare the physical contact area with the intended bond zone.
Confirm that the carton is supported without crushing walls or transferring adhesive to visible surfaces. Clean and replace contact materials only by the supplier procedure.
Verify the hold and release sequence
Observe from outside guards whether the carton reaches full contact before the hold interval begins and remains supported until release. Compare actuator completion, sensor state and mechanical position through approved diagnostics. A timer value alone does not prove physical contact time.
Do not extend delay or reduce speed as the only correction. Determine whether contact starts late, releases early, the adhesive is not ready or the blank moves before the downstream handoff.
Evaluate adhesive set with a defined method
Use the adhesive supplier’s approved readiness, open-time, compression and test method for the actual board and coating. Evaluate at the defined time, not by randomly pulling one hot or freshly compressed joint. Preserve fibres and surfaces for failure-mode comparison.
A joint that separates cleanly at the adhesive interface suggests different evidence from one that tears board fibres or fails outside the intended area. Record observations without inventing an acceptance force.
Prove the full discharge and packing handoff
After correction, restore guards, account for tools and follow the documented startup. Run labeled cartons at controlled speed and inspect adhesive placement, contact, immediate release and delayed bond condition.
Stack, count or pack the cartons through the agreed downstream process. Record blank and adhesive lots, intervention, cycle evidence, hold result and final handling approval. Production is stable only when the bond survives the intended handoff.
Frequently asked questions
Should compression pressure be increased when a flap opens?
Not automatically. Adhesive placement, flap geometry, alignment, contact timing, material compatibility and set condition may be the first cause.
Does visible adhesive prove the joint received enough adhesive?
No. Location, coverage, transfer to both surfaces and controlled set matter. Excess visible adhesive can also indicate squeeze-out.
Can bond quality be judged immediately after release?
Only if the approved method defines that check. Many systems also require evaluation after a controlled set or handling interval.
What evidence helps remote troubleshooting?
Provide blank and adhesive identity, cycle-ordered cartons, adhesive map, isolated compression photos, safe sequence video and timed bond observations.
Send the machine model, blank and adhesive data, cycle-labeled cartons, isolated compression contact photos, sequence evidence and delayed bond result through our inquiry page. HANNAI can review the forming-to-handoff process.