Hamburger box machine feeding, forming and gluing troubleshooting should trace the carton blank from the magazine to the finished erected box. Poor feeding, open corners, distorted walls and adhesive contamination may be related, but changing forming or glue conditions before confirming blank presentation can create additional defects. The best evidence shows the first process point where the carton differs from the approved sample.
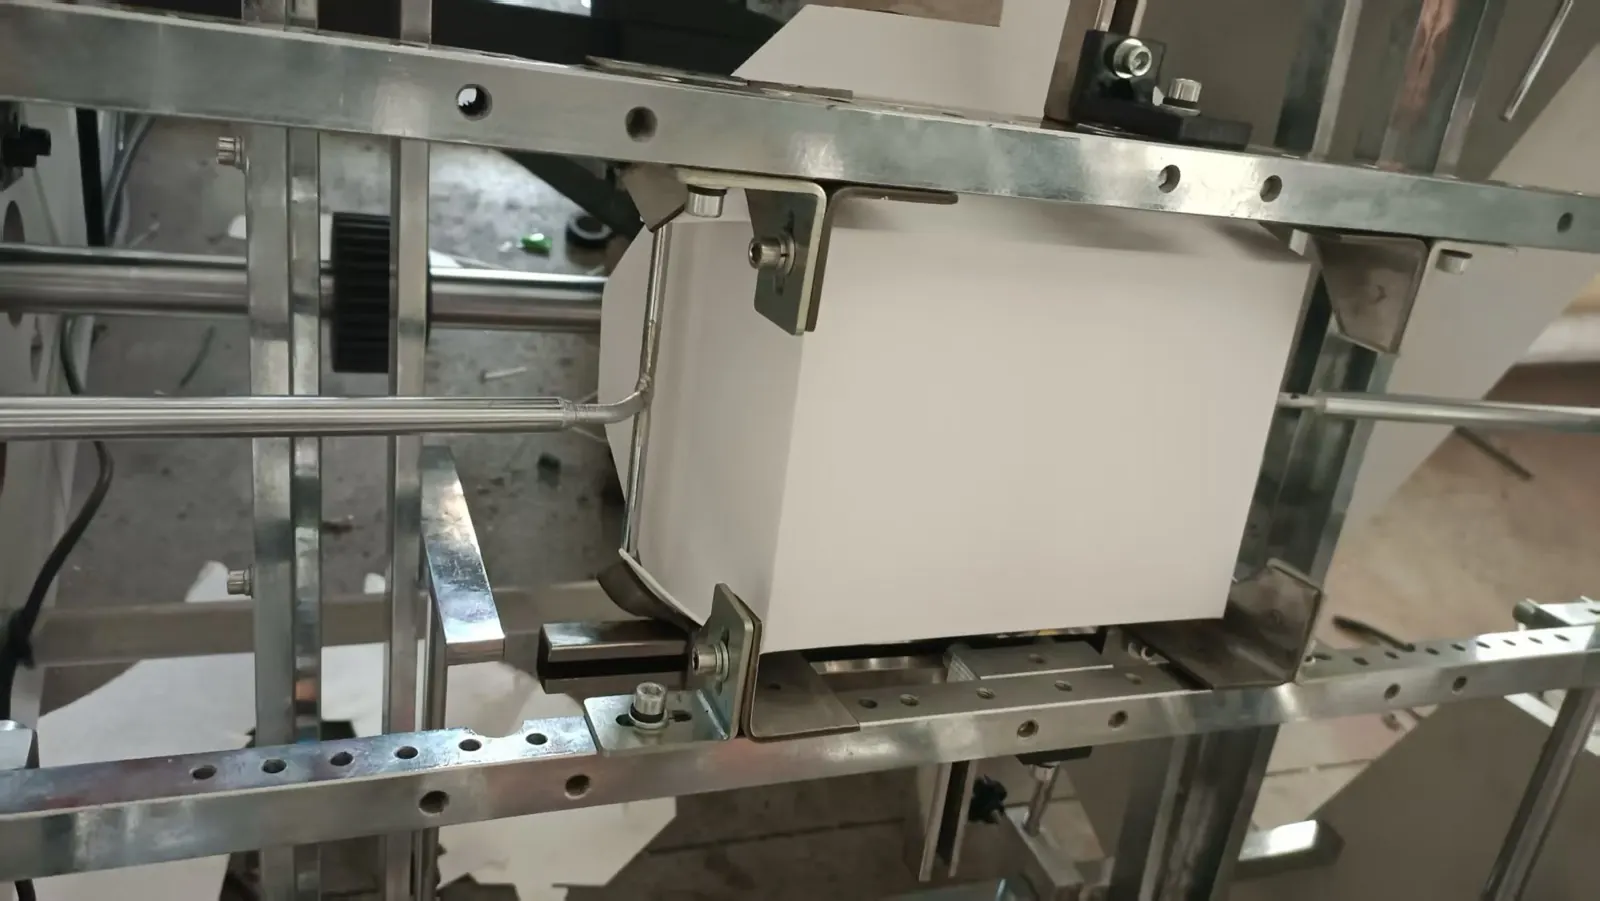
Define the carton and defect boundary
Confirm the blank drawing, board and coating construction, print orientation, crease design, adhesive requirement and accepted erected sample. Distinguish no-feed, double-feed, skew, crease cracking, incomplete opening, wall deformation, corner separation, adhesive squeeze-out and discharge damage.
Mark blank orientation and collect consecutive boxes. If every defect stays at the same printed corner, it may map to blank geometry, crease or tooling. If it moves between corners, investigate feed presentation and forming consistency.
Use a carton process evidence table
| Process stage | Evidence to collect | Key question |
|---|---|---|
| Blank magazine | Stack orientation, flatness, curl, dimensions and lot | Are blanks presented consistently? |
| Pickup and feed | Single pickup, edge position, sensor state and contact marks | Does one undamaged blank reach the forming position? |
| Pre-fold or forming | Crease opening, tooling contact and wall sequence | Where does geometry first become abnormal? |
| Adhesive application | Specified location, continuity, contamination and cure evidence | Is adhesive applied to the intended joint? |
| Compression or hold | Joint alignment, support and release condition | Does the joint remain positioned during setting? |
| Discharge | Box shape, scuffing, nesting and guide contact | Is an acceptable box damaged after forming? |
| Release | Consecutive boxes, dimensions, joint and end-use fit | Has production function been proven? |
Stabilize magazine and single-blank feeding
Check that blanks are loaded in the correct orientation, conditioned and supported without excessive curl. Observe pickup through the guards and record double feeds, missed pickups, skew and the exact edge that contacts a guide. Under isolation, inspect accessible guides, pickup surfaces, vacuum components where fitted and sensors for contamination, damage or displaced reference marks.
Do not increase vacuum, spring load or guide pressure by guesswork. The required arrangement depends on blank size, surface and delivered feeding system.
Confirm crease geometry before changing tooling
Inspect flat blanks for die-cut and crease position, cracking, fiber damage and incomplete waste removal. Manually fold a retained sample only as an offline diagnostic and compare its natural fold line with the drawing. A crease that resists or folds off-line can make correct machine tooling appear misaligned.
The 950 roll die cutting machine is one upstream option for roll-fed packaging blanks, but the blank drawing and die quality remain project-specific. Keep forming and blank evidence linked.
Trace the forming sequence station by station
Observe which flap, wall or corner moves first and where support is applied. Compare good and rejected cartons immediately after each accessible station. If geometry is correct before compression but distorted after it, focus on alignment, support and release at that boundary. If the blank never opens correctly, work upstream.
Under lockout, inspect tooling identity, cleanliness, looseness, damage and reference positions. Never reach into the forming area during jog, and never defeat a guard switch to watch the carton more closely.
Evaluate adhesive placement separately from joint strength
Confirm the specified adhesive and application location for the delivered project. Inspect whether adhesive reaches the intended area continuously and whether squeeze-out contaminates tooling or finished surfaces. A joint can fail because adhesive is missing, poorly located, incompatible with the surface or not held in alignment for the required process condition.
Do not raise adhesive temperature, pressure or quantity without supplier documentation and qualified authorization. Hot adhesive systems can retain pressure and heat after stopping; isolation and protective equipment must follow the system manufacturer’s procedure.
Separate material, machine and environment
Compare defect rate by board lot, storage condition and time since material entered the production environment. Moisture and curl can change feeding and folding behavior. However, do not blame material until machine guides, tooling and adhesive application have been checked against the approved sample.
Record one controlled change at a time. Mixing a new board lot, guide adjustment and adhesive change prevents a reliable conclusion.
Inspect discharge without hiding upstream faults
Verify the carton is dimensionally stable before it enters discharge. Then inspect guides, conveyors or collection surfaces for rubbing, compression and orientation loss. A discharge jam may be caused by a box that was already out of square.
If line output is limited by manual clearing or collection, document the actual handoff time rather than increasing the forming rate. The goal is stable accepted cartons, not short bursts of machine motion.
Use sample-based production release
After the verified correction, clean adhesive contamination safely, restore guards and run the approved staged test. Inspect consecutive boxes for blank damage, dimensions, square formation, joint position and strength, surface cleanliness, nesting or closing function and the buyer’s end-use requirements.
The HANNAI hamburger box machine can be reviewed for burger, fries, hot-dog, food-pail and related carton formats. Use the hamburger box machine buyer guide to define sample and project evidence before configuration.
Frequently asked questions
Why does the machine sometimes pick two carton blanks?
Check stack condition, curl, surface, static behavior, pickup condition, separation method and guide setup. Record whether the issue follows one material lot.
Does an open corner always mean more adhesive is needed?
No. Adhesive position, joint alignment, surface condition, application continuity and hold during setting all matter. Extra adhesive may only create contamination.
Why do carton walls crack during forming?
Inspect crease quality, board construction, storage condition, fold direction, tooling alignment and the forming sequence. Mark samples to see if cracking repeats at one crease.
When should the machine or adhesive supplier be involved?
Escalate before protected timing, tooling or adhesive-system changes, whenever joints remain unsafe for food-packaging use, or when the delivered documentation cannot define the correct setup.
Send the box drawing, board and coating details, adhesive requirement, marked samples, machine and tooling identity, safe cycle video and recent change record through our inquiry page. HANNAI can review the evidence and discuss a sample-based configuration.