A rim tool shapes a functional and visible edge. Compatibility depends on the bowl drawing, paper and coating, pre-form condition, mating-tool profile, machine datums, heating arrangement and ejection path. A tool that bolts on can still produce cracks, flattening, asymmetry or release problems.
Replacement should be controlled as a tooling change with first-article evidence. Stop and isolate the machine, allow hot tooling to cool and use proper lifting and storage. Never reach into a forming station during automatic cycling.
Decision matrix
| Compatibility area | Evidence | Approval question |
|---|---|---|
| Product geometry | Controlled bowl drawing, rim section and approved samples | Does the profile create the required finished edge? |
| Machine interface | Mounting pilot, bolt pattern, height and orientation datum | Can the tool locate repeatably? |
| Mating relationship | Upper/lower profiles, radial and axial clearance | Will the pair form without collision? |
| Thermal/process | Heater/sensor arrangement, material and surface finish | Does the process respond as validated? |
| Downstream release | Ejection, transfer, stacking and lid-fit checks where applicable | Can finished bowls leave the station consistently? |
Control the product and tool definitions
Start with the current bowl drawing, material structure, sidewall and bottom geometry, rim section and critical quality requirements. Nominal capacity alone does not define rim diameter or profile. Keep signed samples and drawings tied to a revision.
Record the installed upper and lower tool codes as a matched set. Photograph datums, spacers, fasteners, heater and sensor locations and ejection components. Do not mix tool halves from different revisions without an approved compatibility review.
Inspect mounting and mating geometry
Measure approved interface dimensions from controlled drawings: pilot, bolt circle, height, orientation key and contact face. Clean locating surfaces and inspect for burrs, dents, fretting or debris that can tilt the tool.
Verify the mating relationship through the machine’s safe setup method before powered cycling. Clearances and forming depth are product- and tool-specific. Do not use generic shims or grind a profile at the machine to solve interference.
Match thermal and surface behavior
Where the process uses heated tooling, match heater and sensor arrangement, electrical ratings and permitted operating range. Record material and surface treatment from the supplier drawing. A visually similar coating does not prove identical release, wear or food-contact suitability.
Trend actual tool-zone behavior during controlled warm-up and check that the sensor represents the intended area. Do not raise temperature to force an incorrect profile to form. Inspect the paper for scorching, coating damage, cracks or gloss change.
Run first-article dimensional and release checks
Begin at permitted setup speed with guards restored. Inspect rim roundness, height, curl continuity, cracks, flat sections and asymmetry at indexed positions. Measure using the approved gauge and conditioning method rather than squeezing the rim by hand.
Check ejection and transfer as well as the formed profile. A tool may create an acceptable rim but hold the bowl, mark it during release or destabilize stacking. If lids are part of the product specification, perform the agreed lid-fit test with controlled lid and bowl lots.
Approve, label and preserve the tool set
Record tool IDs, product revision, machine, installation datums, settings, first-article measurements, photos and approver. Label storage so matched parts, spacers and gauges remain together and protected from impact or corrosion.
Send HANNAI the machine model, product drawing, material, tool codes, interface dimensions and defect samples for review. The linked troubleshooting guide helps distinguish tool compatibility from wear, alignment, heating and ejection faults.
Related machine and guide
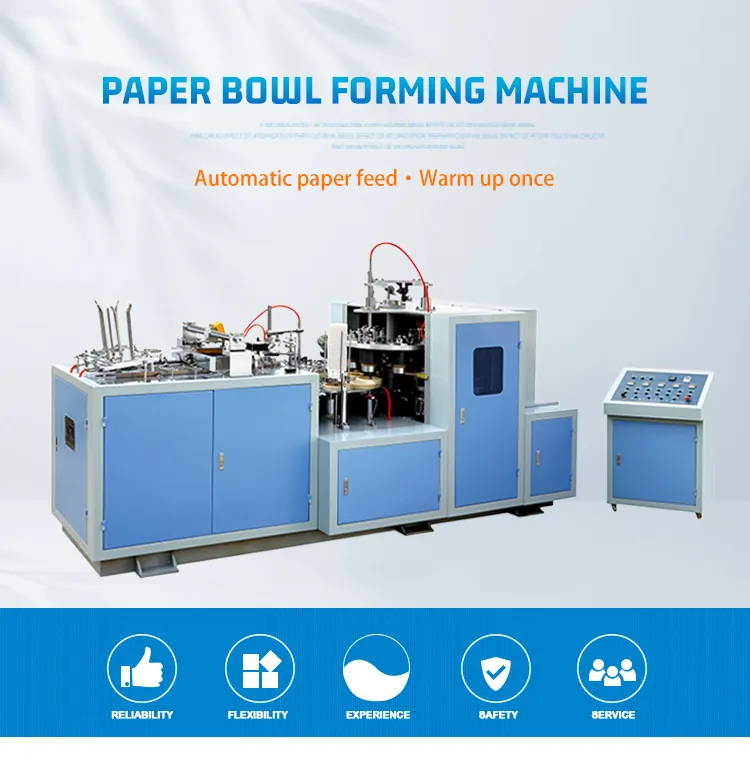
Review the paper bowl machine for machine context, then use the paper bowl rim rolling and ejection guide for the adjacent check. Browse all Buyer Guides when building a wider project checklist.
Frequently asked questions
Can rim tooling be selected by bowl volume alone?
No. Use controlled rim, body and interface dimensions plus material and sample requirements.
Can one half of a tool pair be replaced independently?
Only after an approved review confirms its revision and mating profile are compatible with the retained half.
Why include ejection in tool approval?
A correct-looking rim is not sufficient if the bowl sticks, marks or transfers unreliably.
What should be retained after a successful trial?
Keep tool IDs, drawings, settings, measurements, photos, approved samples and storage identification together.
Review your machine configuration with HANNAI
Send the machine model, project reference, component labels, drawings, photos and a description of the required result. We will clarify which details must be confirmed before a quotation or technical recommendation.