A paper cup embossing machine belongs to an insulated or decorative cup workflow. Buyers should first define the sleeve structure, texture, material and connection to the inner cup.
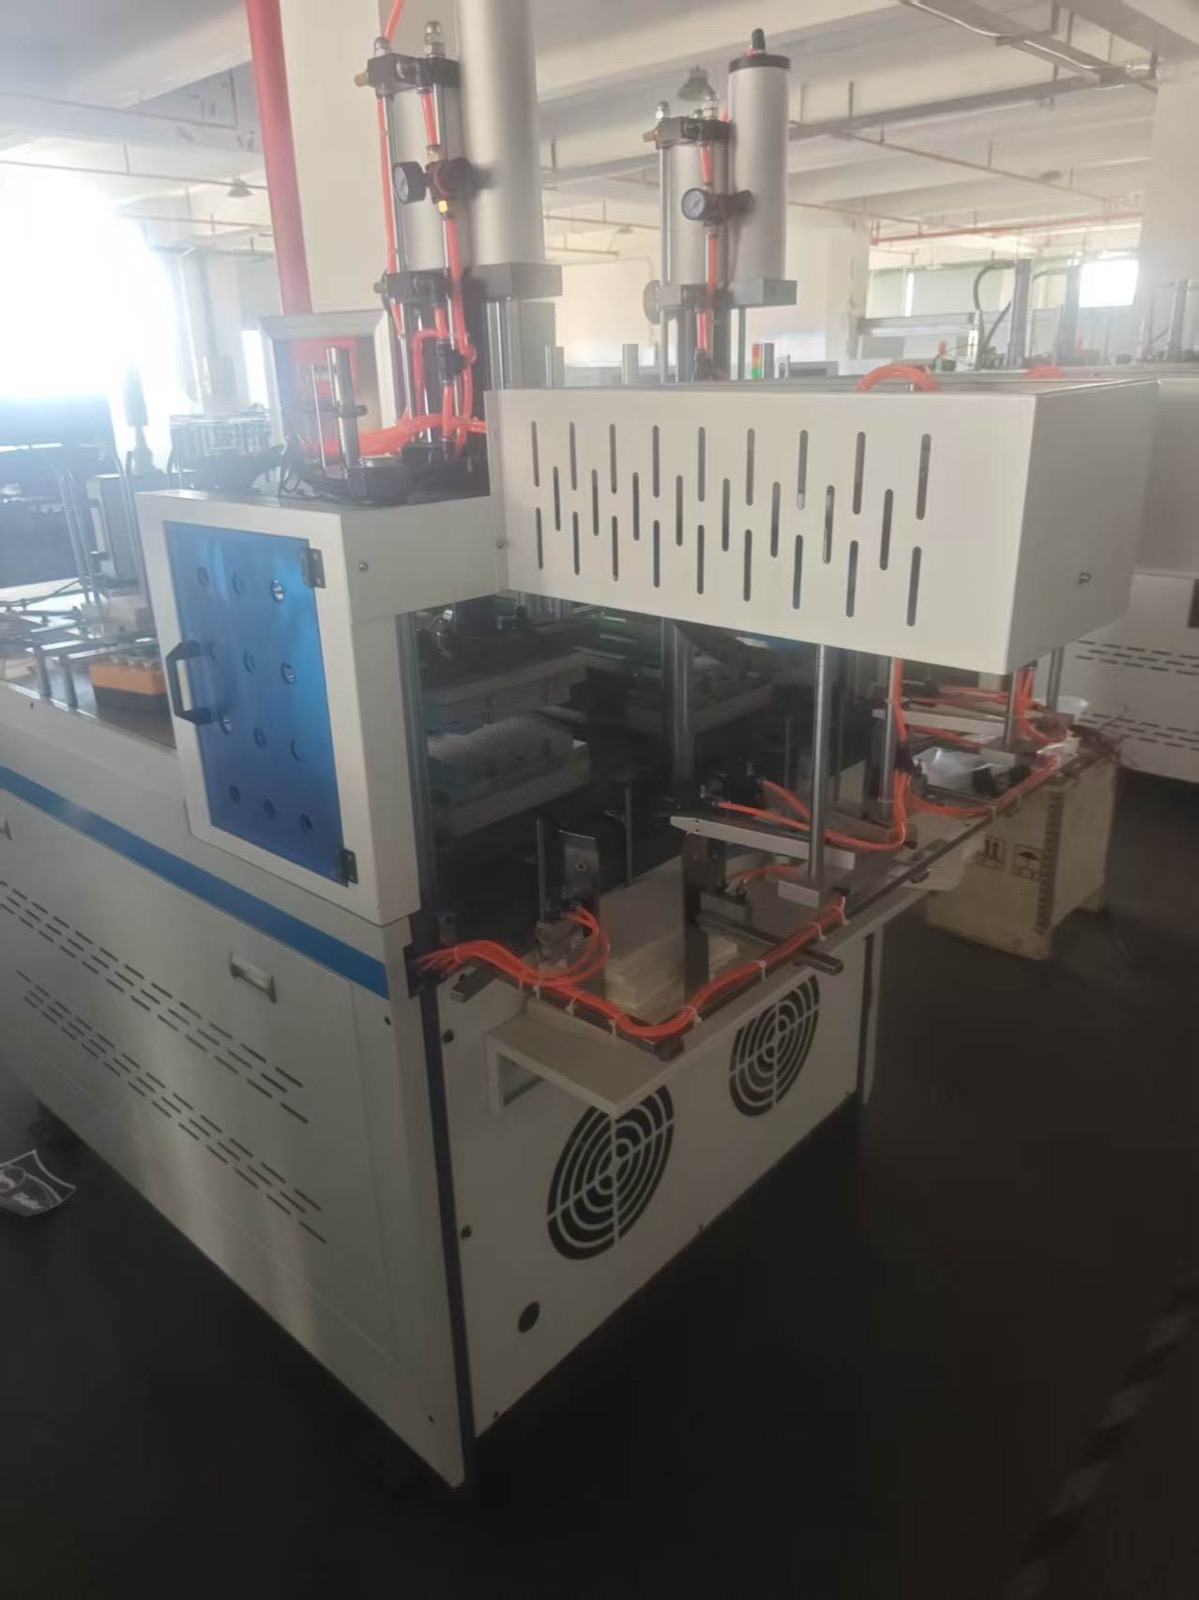
Define the cup structure before selecting embossing equipment
Embossing is commonly discussed for ripple, textured or insulated outer layers. The buyer should identify whether the project uses a separate outer sleeve, a double-wall construction or another agreed cup structure. The inner cup and outer layer must be evaluated as one finished product.
Prepare an assembled cup sample, flat outer-layer sample or drawing, material details, texture reference, seam position, expected cup range and target output. These items give the supplier a practical basis for discussing the embossing and sleeve-forming process.
See the HANNAI paper cup embossing machine page and the double wall paper cup machine page for the related equipment categories.
Prepare a complete embossing project brief
| Project detail | What to provide | What it helps confirm |
|---|---|---|
| Finished cup structure | Inner cup and assembled outer-layer sample | How the embossed layer fits the completed cup |
| Outer-layer material | Paper type, thickness and surface condition | Whether the planned texture and forming route are suitable |
| Texture | Pattern sample, depth expectation and visible area | Roller or mould discussion and appearance target |
| Cup dimensions | Rim diameter, bottom diameter, height and taper | Required tooling and sleeve geometry |
| Seam and assembly | Overlap, bonding route and seam position | How the outer layer will be closed and attached |
| Production target | Sizes, quantities and change frequency | Workflow, staffing and changeover planning |
Evaluate the finished assembled cup
An embossed sheet can look acceptable while the assembled cup still has poor sleeve fit, an uneven seam or an uncomfortable grip. Test the outer layer after it is formed and joined to the intended inner cup.
Inspect texture consistency, visible pattern position, sleeve height, top and bottom alignment, seam quality, deformation and whether the outer layer remains secure during handling. If insulation performance is an important commercial claim, the buyer should define a separate test method rather than assume that texture alone proves the result.
Confirm material behavior with a sample test
Paper stiffness, thickness, coating and surface finish can affect the visible texture and the way the sleeve forms around the cup. Use the planned material in the sample evaluation whenever possible.
Check whether the texture remains stable after forming, whether the paper cracks or marks, and whether the seam area can still be joined correctly. Record the material identity and test condition so the approved result can be repeated during production.
Discuss the embossing pattern and tooling
Provide a physical reference or clear design for the required pattern. Confirm the effective embossed area, pattern direction, repeat position and any unembossed zones needed for seams, artwork or handling.
Ask which tooling or rollers are included, how a new pattern is developed, what information is required for approval and how pattern changes are performed. Custom texture work should have an agreed reference before production tooling is finalized.
Connect embossing to sleeve forming and cup assembly
The complete route may include material preparation, printing, blank cutting, embossing, outer-layer forming, seam joining and assembly with the inner cup. The exact order depends on the agreed product and equipment configuration.
Map every stage and identify the input and output format. Confirm whether material arrives as sheets, blanks or another format; where printed artwork is positioned; how the embossed blank is transferred; and how finished sleeves are matched to inner cups. This prevents one machine from being selected without the supporting workflow.
Plan size changes and production organization
Different cup dimensions can require different tooling and setup. List the planned sizes in priority order and identify the first commercial cup for testing. Starting with one confirmed cup is usually more reliable than approving several vague “ounce sizes” at once.
Record changeover steps, tooling identification, sample approval after setup and storage for unused tooling. The mould and changeover guide provides useful principles for controlling size changes even when the exact equipment differs.
Include quality checks in the quotation scope
Ask the supplier to identify the machine, standard configuration, included tooling, optional pattern work, electrical requirements, documents, spare parts, packing and support scope. Define the sample material and finished-cup evidence expected before shipment.
If the project also requires inner-cup forming, printing, cutting or packing, compare the full workflow through the HANNAI equipment range instead of treating embossing as an isolated purchase.
Frequently asked questions
Is a paper cup embossing machine the same as a cup forming machine?
No. Embossing creates a planned texture on the outer-layer material. The complete cup project may also require inner-cup forming, sleeve forming, joining and other supporting processes.
What sample should a buyer send?
Send the finished assembled cup, inner cup, flat outer layer, material details, cup dimensions and a clear reference for the required texture.
Can one embossing pattern fit every cup size?
Pattern area, sleeve geometry and tooling requirements depend on the cup dimensions and product design. Confirm each priority size from a drawing or sample.
What should be checked during a sample test?
Check texture consistency, material condition, sleeve fit, seam quality, alignment, deformation and the appearance of the fully assembled cup.
Send the assembled cup, outer-layer material, cup dimensions, texture reference and target output through our inquiry page. HANNAI can help organize the embossing and sleeve-forming equipment discussion.