Paper cup inspection sample identification must survive every handoff from the line to the laboratory, retained-sample cabinet or external test provider. A cup without a durable batch link can produce a valid measurement that is unusable for the intended release decision.
This guide describes sample identity and transfer control. It does not set sampling quantities, test limits or retention periods; use the approved inspection plan and customer requirements for those decisions.
Decision worksheet
| Control point | Evidence to retain | Release decision |
|---|---|---|
| Collection | Batch, position, time and collector | Sample belongs to defined lot |
| Container | Unique sample ID and protected condition | Identity remains attached |
| Transfer | Sender, receiver, time and purpose | Custody is traceable |
| Testing | Method, instrument and consumed quantity | Result links to sample |
| Disposition | Return, retention or destruction record | Inventory is reconciled |
Create identity at the collection point
Collect the sample from a stated machine, packing position, order, batch and time window. Apply a unique sample number before it leaves the area, and record who collected it and why. Define the responsible role and the point in the production or warehouse flow where the check occurs. Use the current approved order, specification or procedure rather than an uncontrolled copy. Use a label or protected container that remains readable during conditioning and testing. Link photographs to the same number and show relevant lot or container markings. Record actual identities, quantities, dates and observations as the work happens, so a later reviewer can reconstruct the decision without relying on memory.
If a cup cannot be tied to a defensible batch boundary, mark the identity gap and keep it separate from samples used for release. Protect affected material before continuing and keep the original observation visible. Assign an owner and due time for missing information. The review should distinguish confirmed facts, assumptions and unavailable evidence, then state who may authorize the next movement or use.
Log every transfer
Begin by mapping the affected item and process boundary. Record the sender, receiver, transfer time, destination and requested test. Seal or protect the container when tampering or contamination would affect the result. Make the instruction usable at the line by naming the product, lot, equipment, location and revision that apply. Confirm sample count and condition at receipt. External laboratories should acknowledge the identifier without replacing the buyer’s reference. Where electronic and physical records both exist, compare them rather than assuming they agree. Preserve screenshots, labels or samples only when their source remains identifiable.
Investigate missing pieces, mixed containers or an unexplained seal change before testing consumes evidence. Stop the normal release path until the difference is resolved or formally accepted by an authorized role. Reconcile every transferred, sampled, reprinted, discarded or returned quantity. Close the step with a dated decision and a link to supporting evidence.
Link test work to the sample
The control should answer what is being checked, against which requirement and by whom. Put the sample ID on worksheets, instrument files and images. State which cup or section was tested when several pieces share one container. Use clear acceptance language and avoid broad statements such as checked or acceptable when an actual result can be recorded. Record method revision, instrument identity, conditioning and actual result. Note destructive steps and the quantity remaining after each test. Keep the first result and any later correction or retest connected in sequence; do not overwrite evidence that explains why the review began.
When a result conflicts with the request or identity, pause interpretation and resolve the record connection first. Contain the defined scope, notify the designated owner and evaluate whether earlier output or later operations may also be affected. Verify the corrective action at the work point before reopening the normal route, and retain the closure evidence with the batch or event record.
Protect retained and comparison samples
Store retained samples under the defined environment and location code. Separate complaint, reference, release and experimental samples by purpose. Define the responsible role and the point in the production or warehouse flow where the check occurs. Use the current approved order, specification or procedure rather than an uncontrolled copy. Maintain a register with retrieval and return entries so an empty location or damaged container is detected. Check labels before they fade or detach. Record actual identities, quantities, dates and observations as the work happens, so a later reviewer can reconstruct the decision without relying on memory.
Escalate expired, deteriorated or missing samples and decide whether replacement is possible without changing the evidential basis. Protect affected material before continuing and keep the original observation visible. Assign an owner and due time for missing information. The review should distinguish confirmed facts, assumptions and unavailable evidence, then state who may authorize the next movement or use.
Close sample disposition
Begin by mapping the affected item and process boundary. At the end of testing or retention, record return, archive, transfer or destruction. Follow any customer or regulatory preservation requirement. Make the instruction usable at the line by naming the product, lot, equipment, location and revision that apply. Reconcile the collected count with tested, retained, returned and destroyed pieces. Link the final result and approval to the originating batch record. Where electronic and physical records both exist, compare them rather than assuming they agree. Preserve screenshots, labels or samples only when their source remains identifiable.
Do not discard the only disputed sample while an investigation or review remains open unless authorized and documented. Stop the normal release path until the difference is resolved or formally accepted by an authorized role. Reconcile every transferred, sampled, reprinted, discarded or returned quantity. Close the step with a dated decision and a link to supporting evidence.
Related equipment and next checks
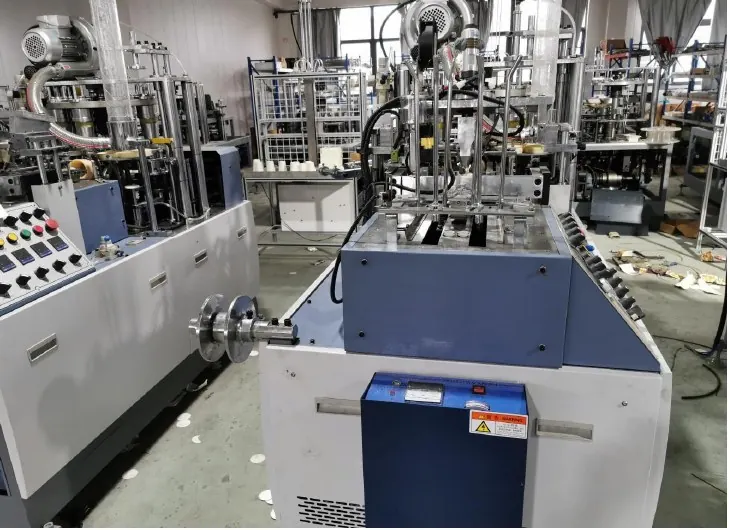
Review the HN-M100 automatic paper cup machine and the related guide to blind sample coding guide. The Engineering Notes archive connects these checks with wider machine planning.
Frequently asked questions
Can the production lot number serve as the sample ID?
Add a unique sample reference when several collections or tests can occur within the same lot.
How are destructive tests recorded?
Identify the consumed piece or section, method, result and remaining sample quantity.
What if a label becomes unreadable?
Quarantine the sample identity and restore it only from controlled evidence, never by guesswork.
Should external laboratories use the same identity?
They should preserve the buyer reference and map any laboratory number back to it.
Review the evidence with HANNAI
Send the sampling points, current labels, transfer route and required tests. HANNAI can help map sample identity to the forming and packing process.