Roll die cutting machine anvil or opposing-support surface condition can create a repeating cut defect even when the cutting tool appears sharp. The exact support design varies: the machine may use a hardened cylinder, covered anvil, counter-surface or another delivered arrangement. Inspection should map the defect by web position and machine repeat, then separate surface contamination, local wear, run condition, alignment and die geometry.
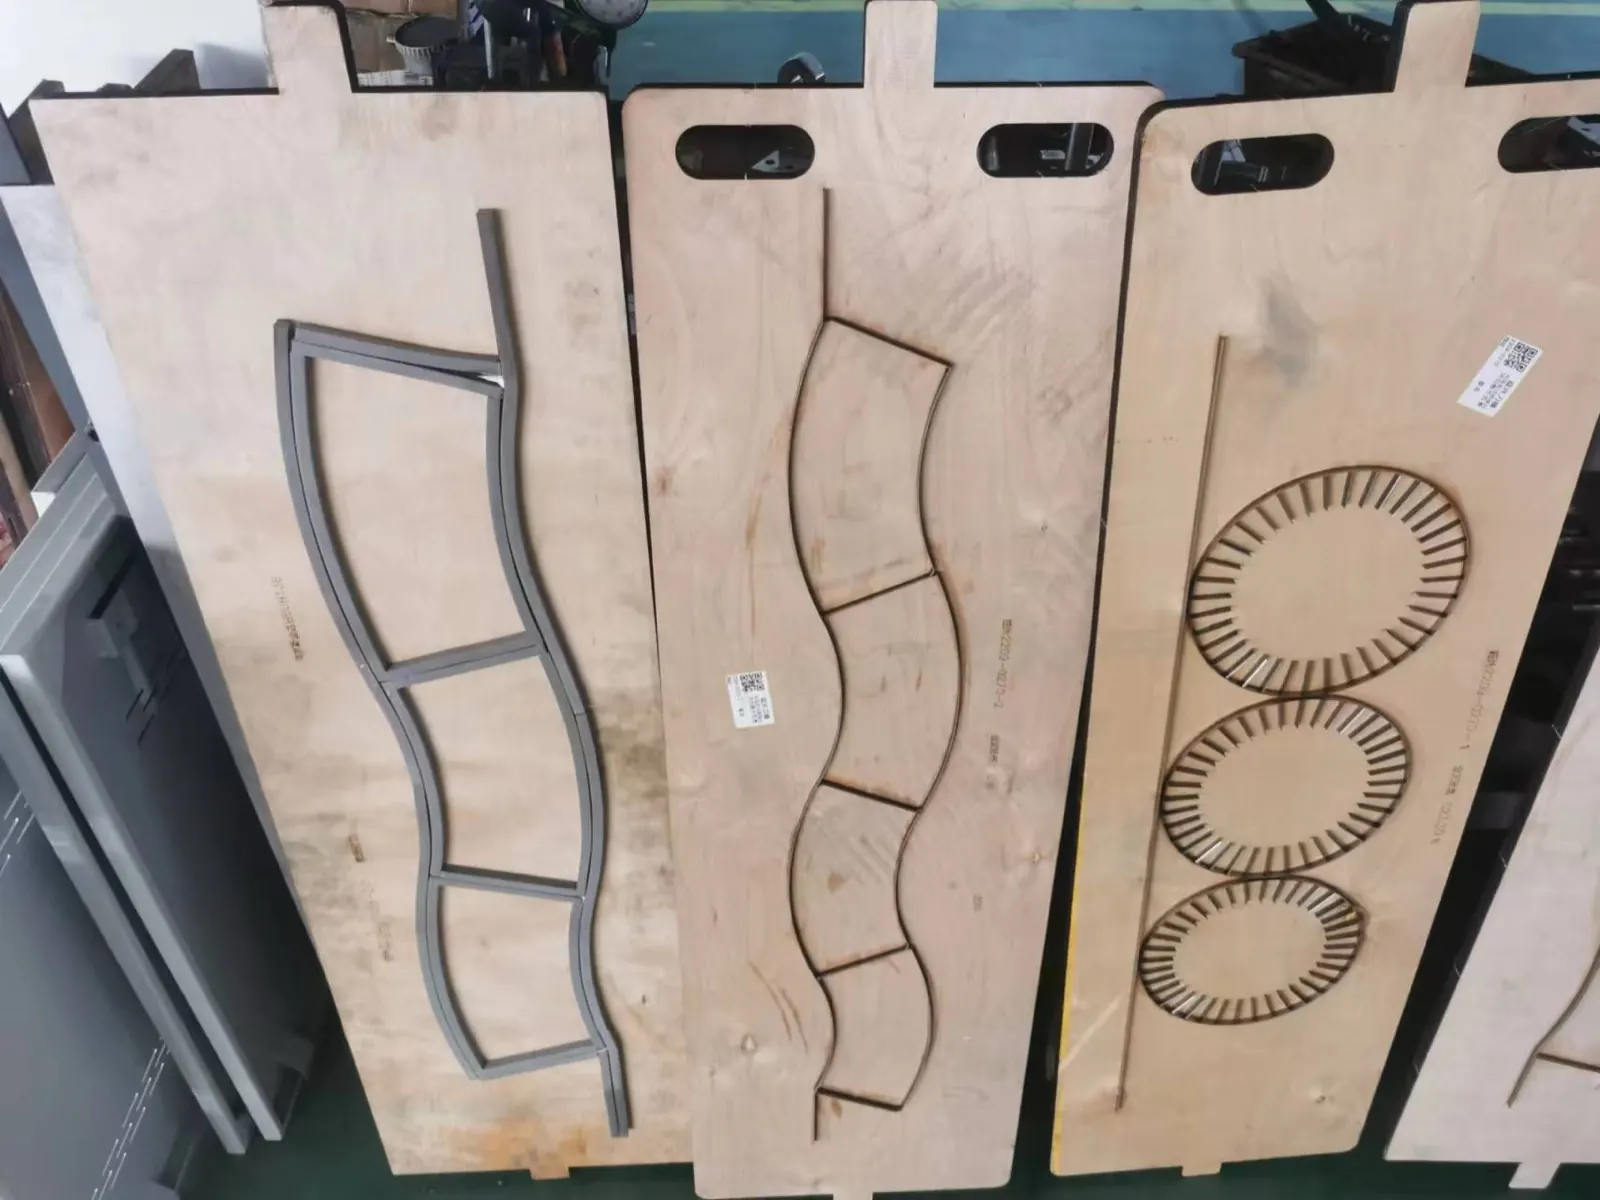
Define the delivered cutting interface
Use the machine manual, tooling drawing and parts list to identify the cutting cylinder or die, opposing surface, pressure-setting method, bearings, supports and any replaceable covering. Record material, width, direction and tooling layout. Do not call every support roll an anvil or assume it is intended to be ground or rotated.
The cutting pressure and die alignment guide covers the complete interface. This article focuses on evidence carried by the opposing or supporting surface.
Map the defect in two directions
Mark rejected blanks by cross-web position and machine direction. Record whether an incomplete cut, crushed edge, nick, repeated mark or crease variation occurs at the same layout feature and repeat interval. Preserve both the blank and surrounding waste matrix.
Compare the defect repeat with die circumference, support-surface circumference and web pitch using supplier references. A repeating line across several different die features may point to the support; one local feature that fails every repeat may remain a die or layout issue.
Use an anvil evidence table
| Cut pattern | Evidence to collect | Diagnostic direction |
|---|---|---|
| Defect repeats across web width | Cross-web map, surface line, contamination and run condition | Review a common opposing-surface feature |
| One blank feature does not cut | Die rule, bridge, material and mapped support position | Separate local die geometry from anvil condition |
| Cut changes after cleaning | Cleaner, residue, surface photos and first-run samples | Check contamination removal or cleaning damage |
| Defect moves after approved rotation | Old and new surface position, repeat map and die reference | Support an anvil-linked cause |
| Left and right cut differently | Material thickness, bearing support, alignment and pressure evidence | Review cross-machine mechanical relationship |
Isolate and expose the surface safely
Stop through the approved sequence, apply lockout and verify electrical, pneumatic and rotational isolation. Prevent cylinder movement and control stored pressure. Cutting edges, nip points and heavy tooling remain hazardous when the drive is off.
Remove guards or tooling only through the documented method and with suitable lifting equipment. Photograph timing, position and reference marks before movement. Do not place hands between cylinders or rotate a tool by pulling on its cutting rules.
Clean without changing the surface
Identify the support material and approved cleaning agent. Remove paper dust, coating transfer, adhesive-like residue or wrapped scrap with tools that cannot scratch, swell or soften the surface. Unapproved metal scrapers, abrasives and solvents can create the same defect being investigated.
Control removed debris and inspect under consistent lighting. Record dents, grooves, polished tracks, cuts, raised particles, coating loss or an area with different hardness or texture. Use a location map rather than relying on one close-up photograph.
Check run condition and support
Qualified maintenance personnel should assess runout, bearing play, shaft support and alignment using the supplier-defined method and calibrated tools. Surface marks may be secondary to a bearing or support condition that changes contact through rotation.
Do not compensate for local wear by increasing overall pressure. Excess load can crush creases, mark the material and accelerate damage. Compare the bearing condition principles while following the die cutter’s specific limits.
Manage covers, rotation or repair correctly
If the supplied system uses a replaceable cover or approved position rotation, confirm the exact material, thickness, installation direction and joint method. Record the original and new reference. Not every anvil may be rotated, resurfaced or covered.
Grinding, machining, welding or surface repair requires supplier authorization and dimensional control. Confirm whether tooling or pressure references must be recalibrated after work. A visually smooth cylinder can still be outside its functional geometry.
Verify cutting and downstream forming
After restoration, account for tools, restore guards and use the documented restart. Run the released material and die at controlled stages. Sample across the web and through several repeats, checking cut edge, dimensions, creases, bridges, surface and waste separation.
Trial representative blanks in the next forming process. A blank may separate cleanly yet carry a crushed crease or dimensional change that affects feeding. Record surface action, settings by reference, material, die, map and accepted downstream result.
Frequently asked questions
Does every roll die cutter use the same type of anvil?
No. Opposing surfaces and coverings vary by design. Identify the delivered system before cleaning, rotating or replacing anything.
Can more cutting pressure compensate for an anvil groove?
It may mask one local defect while damaging other areas. Map and correct the surface or support cause through the approved method.
Should an anvil be polished when it looks rough?
Not without supplier instructions. Polishing can change diameter, finish, hardness or local geometry and affect the entire cutting relationship.
What evidence helps remote inspection?
Provide machine and tooling identity, cross-web and repeat maps, blanks and waste, isolated surface photos, cleaning history, run evidence and recent adjustments.
Send the machine model, die and material, mapped blank and waste samples, isolated support-surface photos, run evidence and pressure reference through our inquiry page. HANNAI can review the cutting interface for the supplied machine.