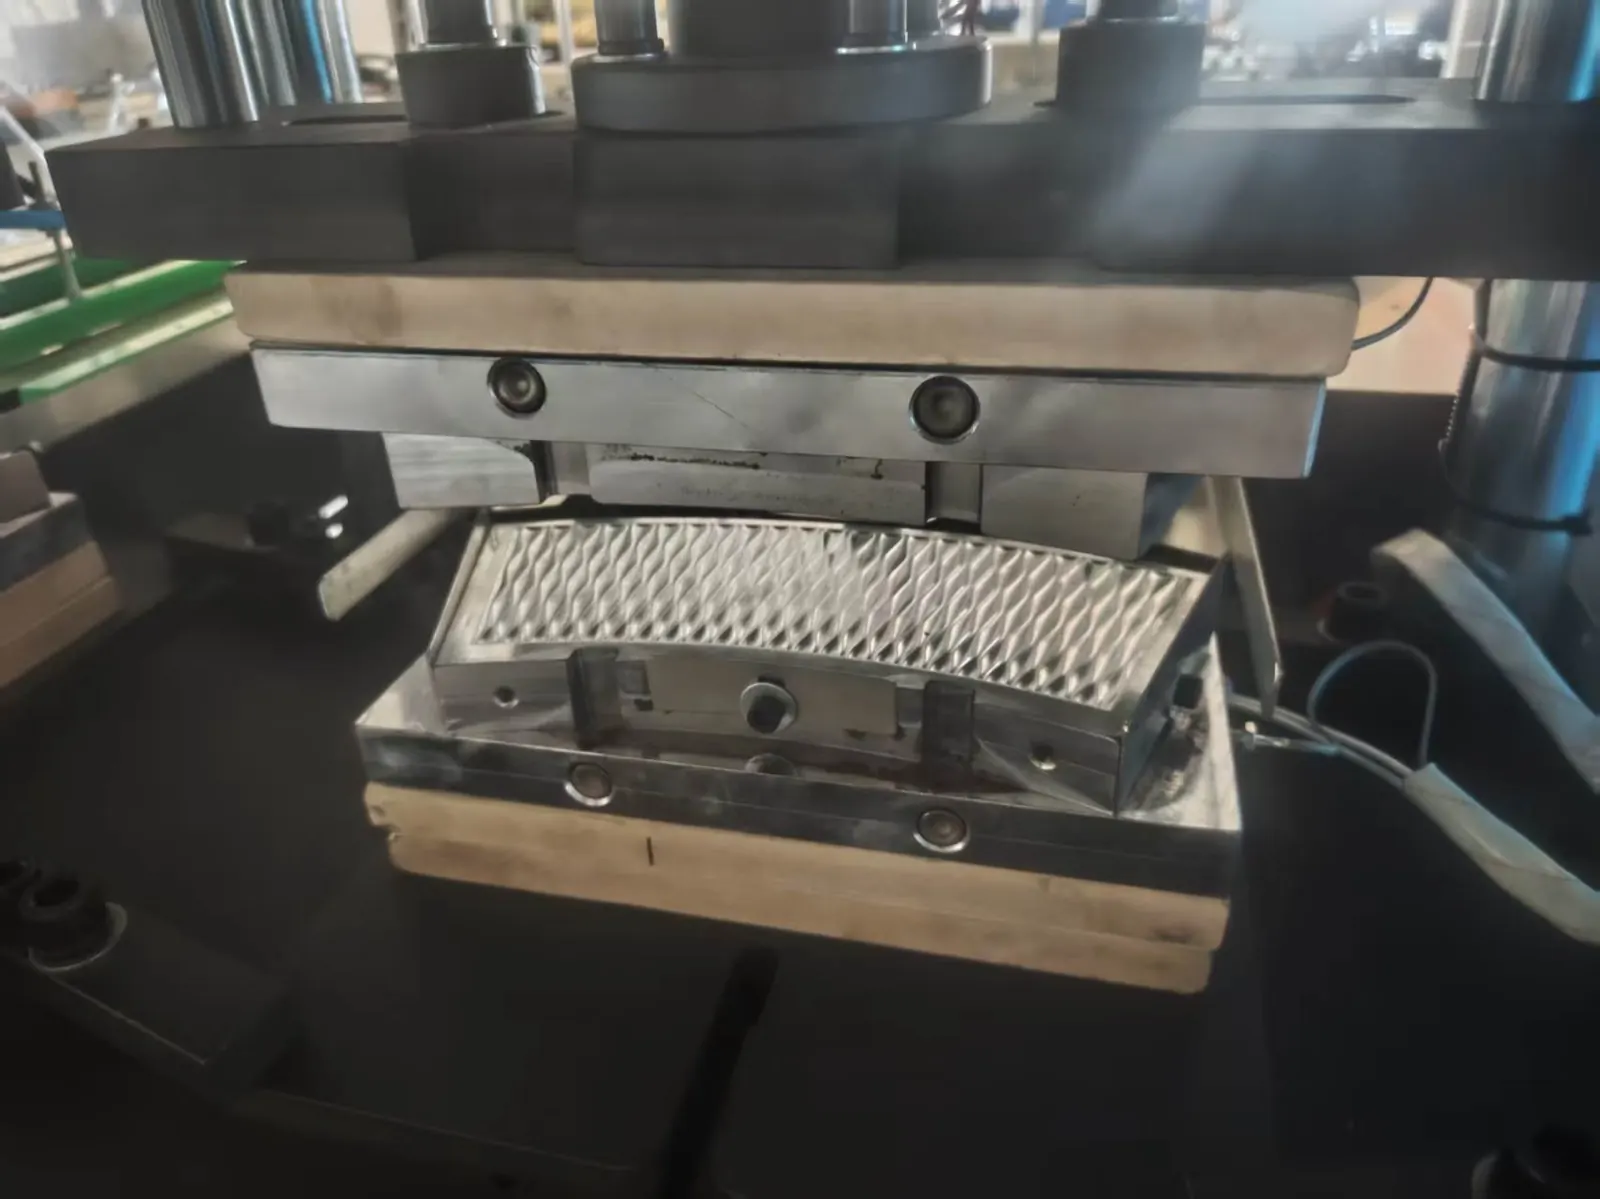
Paper cup embossing machine roller cleaning and surface-wear inspection protects the intended texture without turning every faint pattern into a pressure adjustment. Fibers, coating transfer, dust or damaged tooling can produce similar visual symptoms. Diagnosis should map the defect to the roller circumference and web position, then compare material, cleaning history, surface condition and assembled-cup performance.
Describe the pattern defect as a map
Identify whether the texture is shallow, missing, filled, doubled, crushed or marked by a line. Record the defect’s position across the blank and its repeat distance in the machine direction. Compare printed artwork, embossing orientation and the final sleeve seam so that the mark can be located relative to the tooling.
The feeding and pattern troubleshooting guide covers pickup and general registration. Here, the key question is whether the roller surface is transferring the intended relief consistently after material is presented correctly.
Control the incoming material comparison
Record material supplier, construction, coating, thickness reference, lot, storage condition, printable side and grain or orientation information where relevant. Preserve accepted and rejected blanks. A material that changes compression or surface behavior can alter relief even when the roller has not changed.
Use the approved sample and inspection lighting. Photographs should keep the same angle and scale; exaggerated side light can make small differences look severe. Assemble representative embossed blanks with the intended inner cup because flat-sheet appearance alone may not predict sleeve fit or handling.
Build an embossing-surface evidence table
| Observed pattern | Evidence to collect | Diagnostic direction |
|---|---|---|
| Repeated missing patch | Blank position, repeat interval, roller map and surface photo | Match the defect to contamination or local damage |
| Relief weak across full width | Material lot, setup reference, roller support and approved sample | Separate material response from overall mechanical condition |
| Fine line on every repeat | Line orientation, raised debris, scratch and mating surface | Find a linear contact feature before pressure changes |
| Pattern changes as machine warms | Run stage, bearing evidence, material conditioning and support | Review changing mechanics or material behavior |
| Defect began after cleaning | Tool, chemical, method, drying and before-after images | Check residue or surface damage from the procedure |
Isolate and inspect before cleaning
Embossing rollers create crush and nip hazards and may retain rotational, pneumatic or mechanical energy. Apply lockout, verify isolation and secure the mechanism according to the supplier’s procedure before access. Account for hot surfaces if the delivered process includes heating.
Use good light and magnification appropriate to the surface. Inspect accessible roller lands, recesses, edges, joints, fasteners, guards and nearby guides. Look for compacted fibers, coating transfer, adhesive-like contamination, corrosion, chipped features, scratches or foreign particles. Photograph the mapped area before touching it.
Use a compatible cleaning method
Confirm the roller or mould material, surface treatment and approved cleaning instructions. Use tools that can reach the texture without rounding features or scratching the surface. Unapproved wire brushes, metal picks, abrasives, high-pressure air or aggressive solvents can damage tooling and spread contamination.
Control removed debris so it does not enter bearings, sensors or the product zone. Verify that cleaning material does not leave an odor or residue relevant to food-packaging production. Record chemical identity, tool, area cleaned, operator and result. Allow the component to dry or return to the required condition before restart.
Separate contamination from permanent wear
If the defect disappears after approved cleaning and remains absent through a controlled run, contamination is supported. If the mapped mark remains at the same tooling position, qualified personnel should compare surface geometry, runout, support and wear to the supplier reference. Do not deepen or re-engrave a pattern by hand.
A worn bearing or loose mount can change contact while the patterned surface looks acceptable. Record abnormal noise, vibration, temperature indication and left-to-right behavior. Use the bearing condition guide for evidence planning, while applying the specific embossing-machine instructions.
Review setup without masking damage
Pressure, gap, alignment and thermal settings depend on the roller design and material. Restore the released setup reference before concluding that more force is required. Increasing load to overcome filled or damaged detail can crush the blank, distort dimensions and accelerate wear.
Confirm the matched tooling pair, orientation, seating and fasteners after service or changeover. If a replacement roller is proposed, send the machine identity, tooling drawing, material and approved assembled sample so compatibility can be checked. Similar visible patterns are not proof of interchangeability.
Verify through the completed product
After cleaning or approved service, remove tools, restore guards and use the documented restart. Run labeled samples at controlled stages. Compare pattern depth or appearance by the factory’s approved method, registration, surface marks, blank dimensions and consistency across the web.
Form or assemble the outer layer with its intended inner cup. Inspect seam, fit, height, stacking, handling and appearance. Record material lot, tooling, setup, cleaning action, mapped before-after evidence and sample approval. The machine should return to production only after both relief and downstream function are accepted.
Frequently asked questions
Can a faint embossed pattern always be corrected with more pressure?
No. Material, contamination, wear, support, alignment and setup all matter. More force can damage the blank or tooling and may hide the real cause.
May compressed air be used to clean the roller?
Only when the approved procedure permits it and debris can be controlled. Uncontrolled air can spread fibers into bearings, sensors and product areas.
Does one repeated mark prove the roller is worn?
Not by itself. Map the repeat, inspect for attached debris or residue and compare the mating surface before confirming permanent wear.
What evidence is useful for replacement-tooling review?
Provide machine identity, roller or mould identification, pattern drawing, material, defect map, isolated surface photos, measurements and accepted assembled samples.
Send the machine model, tooling identity, material and coating, defect map, isolated roller photos, cleaning history and assembled samples through our inquiry page. HANNAI can compare the evidence with the supplied embossing configuration.