Paper cup embossing machine feeding and pattern consistency troubleshooting should treat the outer-layer blank, feed path, tooling, pressure application and registration as one controlled process. Uneven texture, a shifted pattern or damaged blank does not automatically indicate worn embossing tooling. The first task is to determine whether the blank arrived at the tooling consistently and whether the defect repeats in the same location.
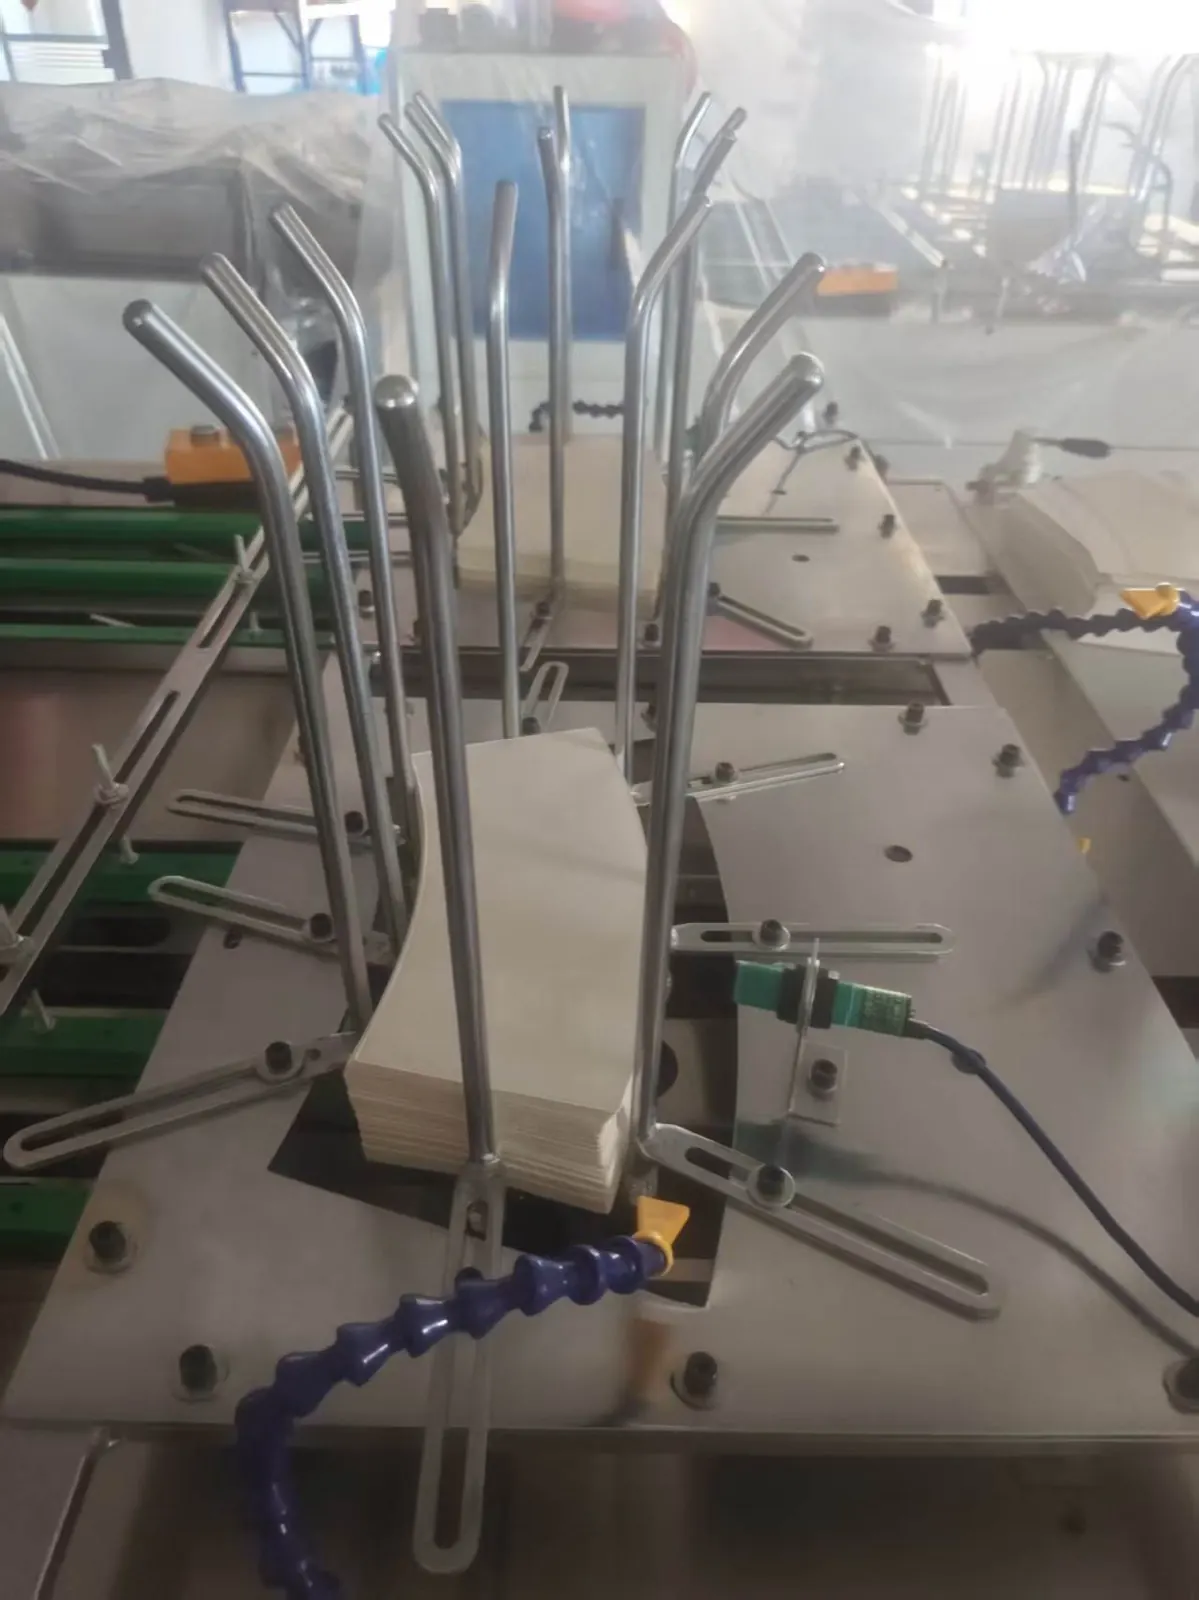
Confirm the embossing application and approved sample
Identify whether the line is preparing a ripple layer, insulated sleeve or another textured outer component, and compare the actual blank drawing, material, coating or surface, grain or curl direction where relevant, pattern orientation and accepted sample. The embossing machine is supporting equipment; it does not replace the cup forming process.
The paper cup embossing machine buyer guide explains why sleeve size, pattern, material and output requirement must be reviewed together. Do not load a new format using the old format’s guide or tooling assumptions.
Build a feeding and pattern evidence table
| Check point | Evidence to collect | What it reveals |
|---|---|---|
| Blank stack | Dimensions, orientation, flatness, curl, surface and lot | Whether incoming variation affects separation |
| Pickup | Single or double feed, contact marks and pickup position | Whether each cycle begins consistently |
| Guiding | Edge position, skew, rubbing and sensor state | Whether the blank shifts before tooling |
| Pattern | Orientation-marked samples and clock position of defects | Repeatable tooling location versus random feed variation |
| Surface | Crushing, cracking, scuffing, contamination or weak relief | Material, pressure, contact or cleanliness issue |
| Tooling | Identity, cleanliness, damage, alignment marks and change history | Whether the installed set matches the format |
| Release | Consecutive embossed blanks and downstream sleeve fit | Whether the process is production-ready |
Stabilize blank separation and presentation
Observe from outside guards whether one blank is picked, whether the stack height remains controlled and whether curl or static causes two blanks to travel together. Inspect guide contact and pickup marks under safe isolation. A blank that enters skewed will move the pattern even when the embossing tools are correctly aligned.
Separate machine and material effects by recording the lot, conditioning state and stack preparation. Do not bend blanks by hand to create an uncontrolled temporary correction. If pickup is pneumatic, use the delivered pneumatic and vacuum information rather than changing pressure or flow by guesswork.
Mark samples to understand defect direction
Before the test, mark a non-critical reference edge and collect samples in production order. Compare pattern position from the same edge and note whether weak or excessive relief stays at one tooling location. A fixed defect suggests local contamination, damage or contact variation; a pattern that moves with skew suggests presentation or guiding.
Preserve both acceptable and rejected samples. Photographs should include a scale and angled light that makes relief visible without exaggerating it.
Inspect tooling identity, cleanliness and contact
After lockout and control of stored energy, verify that the installed pattern set belongs to the format and that any matched components are assembled in the correct relationship. Look for paper dust, coating transfer, adhered debris, surface damage, loose fasteners and displaced reference marks.
Clean only with the approved materials and method. Abrasive tools can alter the pattern surface. Do not insert shims, raise force or reposition tooling without the manufacturer’s documented procedure and an authorized record of the original condition.
Separate pressure consistency from material response
A shallow pattern may result from incomplete contact, unstable feeding, tooling contamination, material stiffness or an unsuitable setup for that blank construction. A crushed or cracked blank may result from excessive local loading, poor alignment, sharp damage or material response. Compare the entire sample, not only the deepest point.
There is no universal pressure value for every sleeve and pattern. Use the delivered machine settings, tooling documentation and an approved sample. Adjustments around pneumatic, hydraulic or mechanical loading must be performed by qualified personnel under the applicable safety procedure.
Check registration to downstream converting
An embossed blank can look acceptable alone but fail when wrapped, bonded or fitted to the cup. Confirm pattern orientation, seam allowance, edge clearance and downstream sleeve fit. Distortion at one edge may affect bonding even if the center pattern is consistent.
For a double-wall project, use the double-wall line configuration guide to define which machine performs embossing, sleeve forming and final assembly. The single-wall versus double-wall guide explains the product construction boundary.
Control changeover and maintenance records
Record blank size, pattern-set identity, guide references, inspected condition, approved sample and any authorized settings for each format. During changeover, verify that tools and loose parts from the previous job have been removed and guards restored.
Trend double feeds, shifted patterns, cleaning frequency and tooling marks. A gradual rise in rejects may show wear or contamination before a complete failure occurs.
Release only after downstream fit is proven
After the verified correction, run the authorized staged test and collect consecutive pieces. Inspect separation damage, pattern position, relief consistency, blank dimensions and surface condition. Then confirm the embossed component feeds and fits in its actual downstream operation.
The HANNAI paper cup embossing machine is configured to the target sleeve, pattern and material. Final acceptance should therefore be sample-based and project-specific.
Frequently asked questions
Why does the embossed pattern move from blank to blank?
Check blank skew, edge guiding, pickup consistency and sensor reference before moving the tooling. A changing position usually indicates an unstable presentation path.
Does a weak pattern always require more pressure?
No. Tool contamination, incomplete contact, misalignment, material construction and feeding variation can all reduce apparent relief. Diagnose before adjustment.
Why are some blanks cracked after embossing?
Investigate material condition, local tool damage, alignment, sharp contact and the approved setup. Preserve orientation-marked samples to see whether cracking repeats at one location.
Should embossing quality be approved before sleeve forming?
It should be inspected at the embossing stage and then confirmed in downstream sleeve forming and cup fit, because registration and edge condition affect final assembly.
Send the sleeve drawing, blank material, pattern sample, orientation-marked defect photos, machine and tooling identity, safe feed video and recent change history through our inquiry page. HANNAI can review the evidence and discuss a sample-based next step.