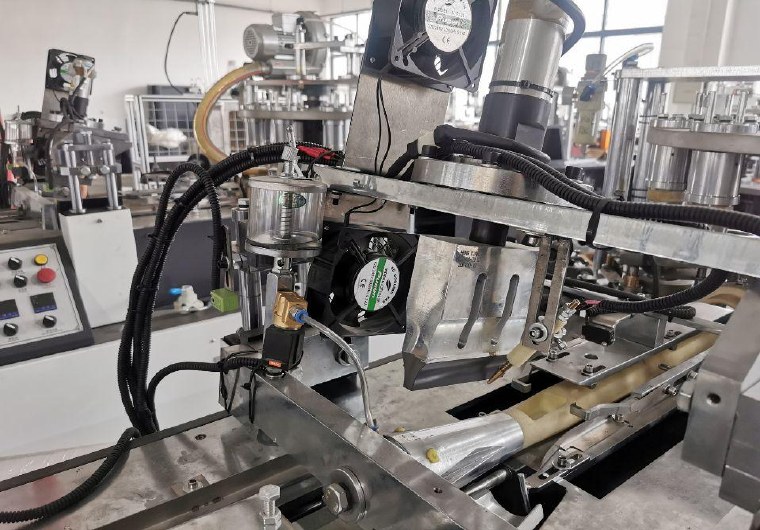
Paper cup bottom seal inspection evaluates a joint that combines material positioning, forming and bonding. A visible knurl pattern is a process observation, not proof that the entire base is liquid-tight. Use the approved cup specification and a defined test to connect the base appearance with functional evidence, especially when the first leakage appears near the side-seam intersection.
Identify the complete base construction
Record the cup drawing, sidewall and bottom-material references, tooling and approved machine setup. Confirm the required bottom-stock specification and sealing approach with the supplier. The same nominal cup volume does not establish interchangeable bottom paper or tooling.
Before interpreting finished-cup defects, review the bottom roll preparation guide. Roll identity, slit condition and feeding observations help determine whether the material entering the forming stage matched the approved trial condition.
Inspect appearance without overinterpreting the pattern
Examine base shape, visible folding irregularities, damage and the continuity of the formed area. Where a knurled pattern is present, record its appearance and compare it with an approved sample. Pattern depth or uniformity should be assessed only under the defined method; do not impose a generic visual limit from another machine.
| Inspection item | Evidence to preserve | What it does not establish alone |
|---|---|---|
| Base geometry | Defined measurements and photographs | Complete bonding around the base |
| Knurl or formed pattern | Identified sample and comparison reference | Liquid-tight performance |
| Fold condition | Location of irregularity or visible damage | The responsible machine adjustment |
| Leak result | First observed location and test conditions | Root cause without further comparison |
| Destructive examination | Approved method and specimen location | A valid result if the specimen was damaged improperly |
Keep the seam location identifiable during inspection. This allows the team to compare a local base observation with the sidewall seam record, instead of describing unrelated photographs as the same defect.
Run the agreed leak test and preserve the failed cup
Define sample selection, fill conditions, duration, handling and acceptance criteria for the actual application. Any hot-liquid test needs a documented method, suitable containment and trained personnel. Do not improvise a stress test simply because ordinary inspection produced an uncertain result.
Observe where liquid first escapes and keep the test record with that cup. A base that is wet at the end of a test may have received liquid from another location. Timing and location observations are therefore more useful than a single final photograph.
Use the leakage quality checklist to review other possible leak paths. If sectioning or another destructive method is required, obtain the approved procedure and use appropriate tools. An uncontrolled cut can damage the seal that the team is trying to evaluate.
Compare process conditions before authorizing changes
Retain acceptable and failed cups with their sidewall lot, bottom-roll lot, tooling reference and production record. Compare whether the issue repeats at the same location or appears after a specific material or setup change. Such patterns support the next investigation step, but they do not prove a single cause.
Machine adjustments must follow the manual and authorized safe-work procedure. Do not increase heat, pressure or another setting based only on a faint pattern. Change one approved factor at a time, record it and repeat both appearance and functional checks on new traceable samples.
The release decision should identify the criteria met, the test record and any remaining hold. Keep questionable cups segregated under the site's quality procedure until the responsible person decides their disposition.
Contact HANNAI with the cup drawing, material information and retained defect evidence when planning a trial. Review the Products page for the forming equipment to discuss with the supplier.
Frequently asked questions
Does a clear knurl pattern prove the bottom is sealed?
No. It shows a visible formed pattern. Functional performance must be checked using the approved test and acceptance criteria.
Is more heat always the answer to a base leak?
No. Material positioning, condition, geometry and setup need investigation. Use only supplier-confirmed adjustments for the actual configuration.
Why keep the failed cup after a leak test?
It connects the first observed leak location with physical inspection. Label it with the lot, setup and test record before further examination.
Can bottom-stock changes require another trial?
Yes, depending on the agreed change-control plan. Confirm the new material's suitability and repeat the specified forming and quality checks.